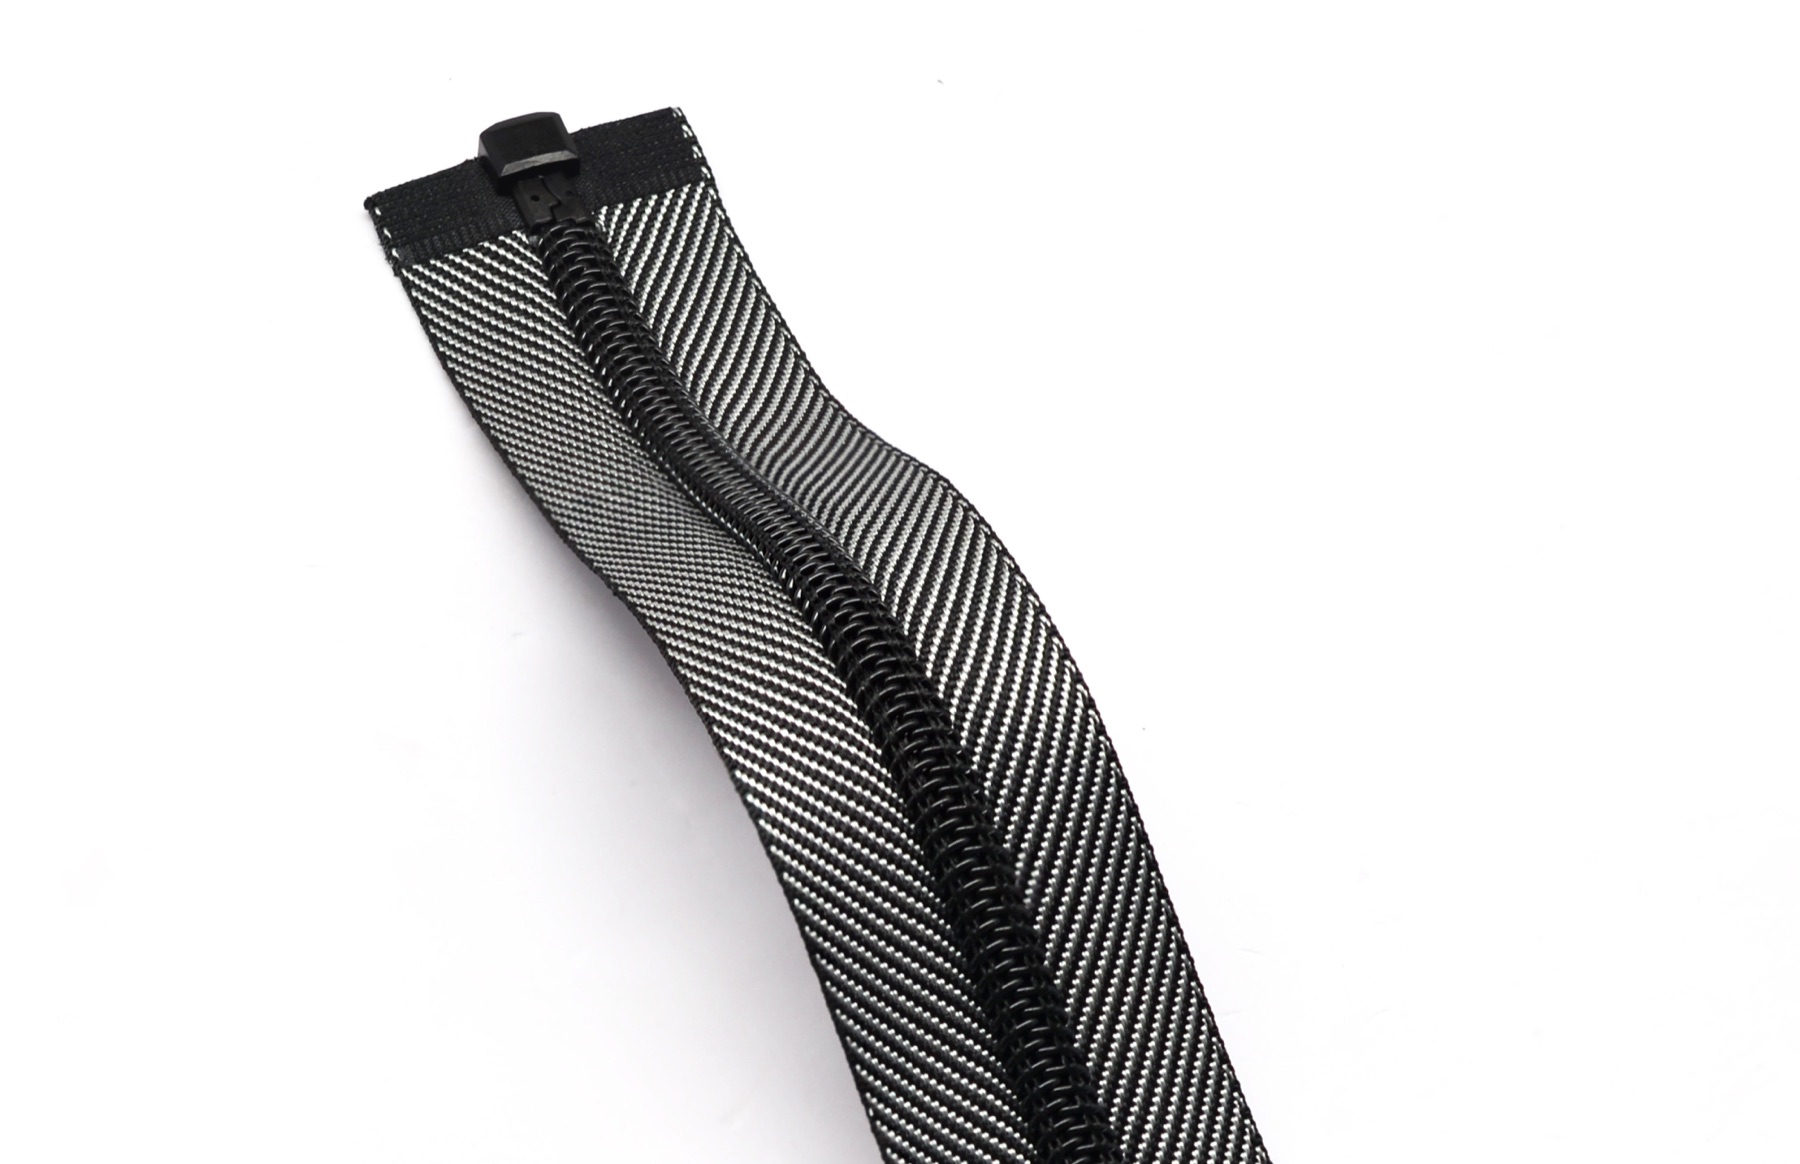
A textured-tape zipper turns the closure into a visible design line through diagonal effects, fine woven structures, or stripe-like patterns. Sizes 3 and 7 offer different visual proportions, but the size number does not define tape width, slider dimensions, or fabric suitability. Pattern, color, chain, and end construction should be specified separately, and a sewn sample is needed to confirm how the tape behaves with the garment fabric.
Texture and Visual Structure
The surface effect may come from weave structure, color arrangement, or another finishing method; the exact construction should be confirmed from the physical sample and technical information. Compared with a plain solid tape, a textured tape reveals more detail under angled light, around curves, and at close viewing distance. Fine diagonals emphasize direction, while broader stripes create a more decorative effect. The pattern direction should work with the garment cut rather than conflict with it.
Inspect the face, reverse, and selvedges for continuity and left-right symmetry. Close the zipper and check chain alignment, then flex it gently and operate the slider through the full length. A tighter-looking weave or a thicker edge should not create an unexplained catch. Decorative texture does not replace checks of nylon tooth engagement and slider compatibility.
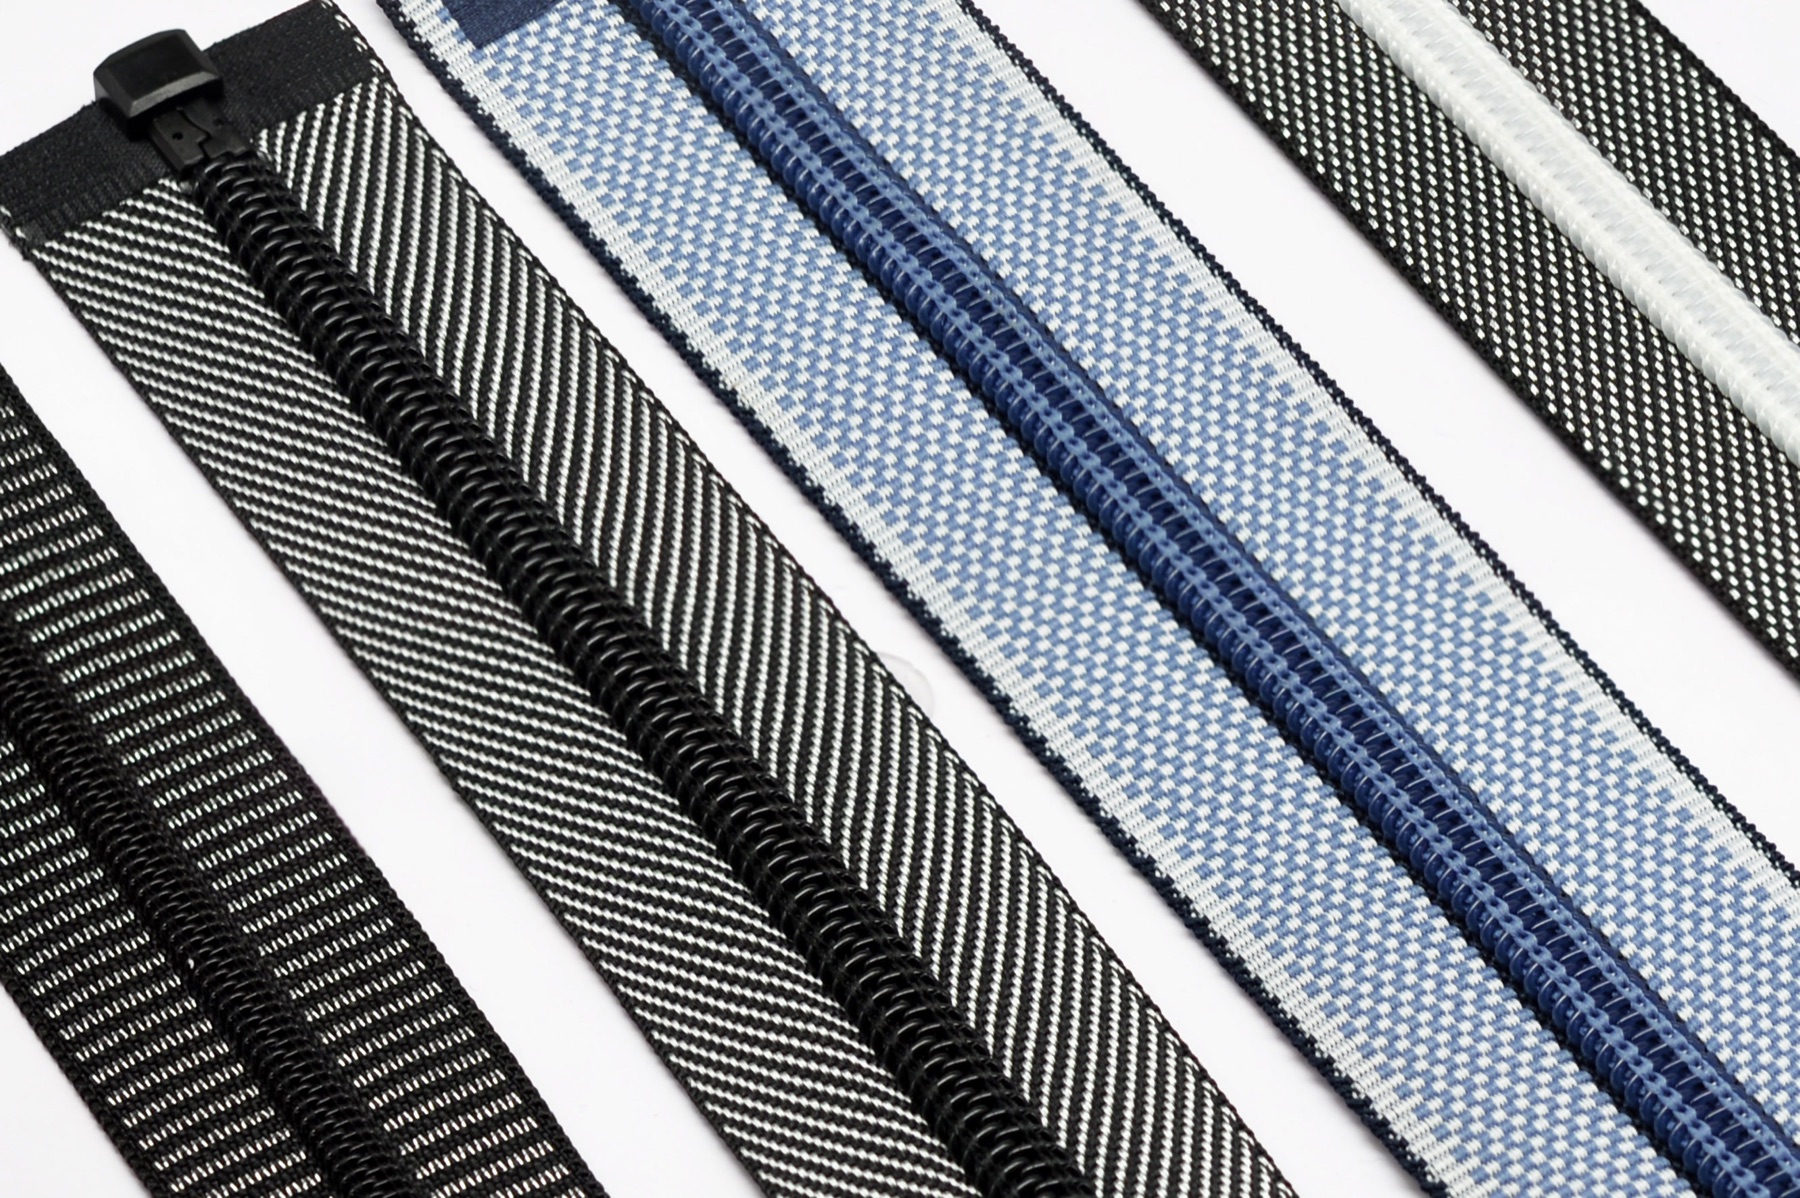
Distinguishing Sizes 3 and 7
Size 3 often provides a smaller visual footprint for skirts, lighter tops, or pocket details. Size 7 has a stronger presence and may suit outerwear or a closure intended to remain visually prominent. These are design starting points, not fixed application rules. Measure the chain, tape, slider, and end fittings, then consider fabric thickness, placket width, and movement in the finished garment.
The same pattern may appear at a different scale on another size. A photograph of a small sample should not be used as proof of the appearance of a larger one. If both sizes are used in a single style, retain an approved physical sample for each and compare pattern spacing, color, and slider styling before production.
Selection and Sampling Checklist
- Mark pattern direction: Indicate tape direction, left-right placement, and any stripe alignment on the pattern or sewing specification.
- Measure each size separately: Record chain width, tape width, slider envelope, and termination dimensions instead of deriving them from the size number.
- Coordinate colors: Review tape, shell, lining, and neighboring trims under consistent lighting.
- Test operation after flexing: Check full-travel resistance when the zipper is flat, gently curved, and sewn into the intended fabric.
- Review the finished appearance: If washing or pressing is planned, verify that texture, color, and tape dimensions remain acceptable afterward.
Sewing and Maintenance
Keep seam allowance and feeding consistent on both sides. Stretching one tape can misalign the pattern and distort the placket. Use a zipper foot with adequate tooth clearance, place the needle in the stitchable tape area, and move the slider rather than forcing the machine across it. Visible texture makes a wandering stitch line more noticeable, especially when the fabric also has a directional pattern.
Lightweight fabric may require suitable stabilization, but the added layer must be tested for thickness differences at the tape edge. Confirm temperature and pressure on a sample before pressing, and avoid prolonged pressure on the chain. Use cleaning methods compatible with both fabric and tape. If the slider catches, inspect for trapped lining, loose thread, or tooth obstruction before applying more force.
Common Questions
Is textured tape necessarily thicker than plain tape
No. Texture describes appearance and structure, not a guaranteed thickness. Measure the sample and set pattern allowances and stabilization from actual dimensions.
Can sizes 3 and 7 share a slider when the tape pattern matches
Compatibility cannot be assumed. The slider must match tooth profile, pitch, and chain dimensions. Matching decorative tape does not establish internal slider fit, so test each combination through its full travel.
Why is the pattern uneven after sewing
Uneven feeding, stretched tape, different seam allowances, or inaccurate garment positioning may be responsible. Review the pattern and sewing process before concluding that the zipper tapes are inherently asymmetrical.