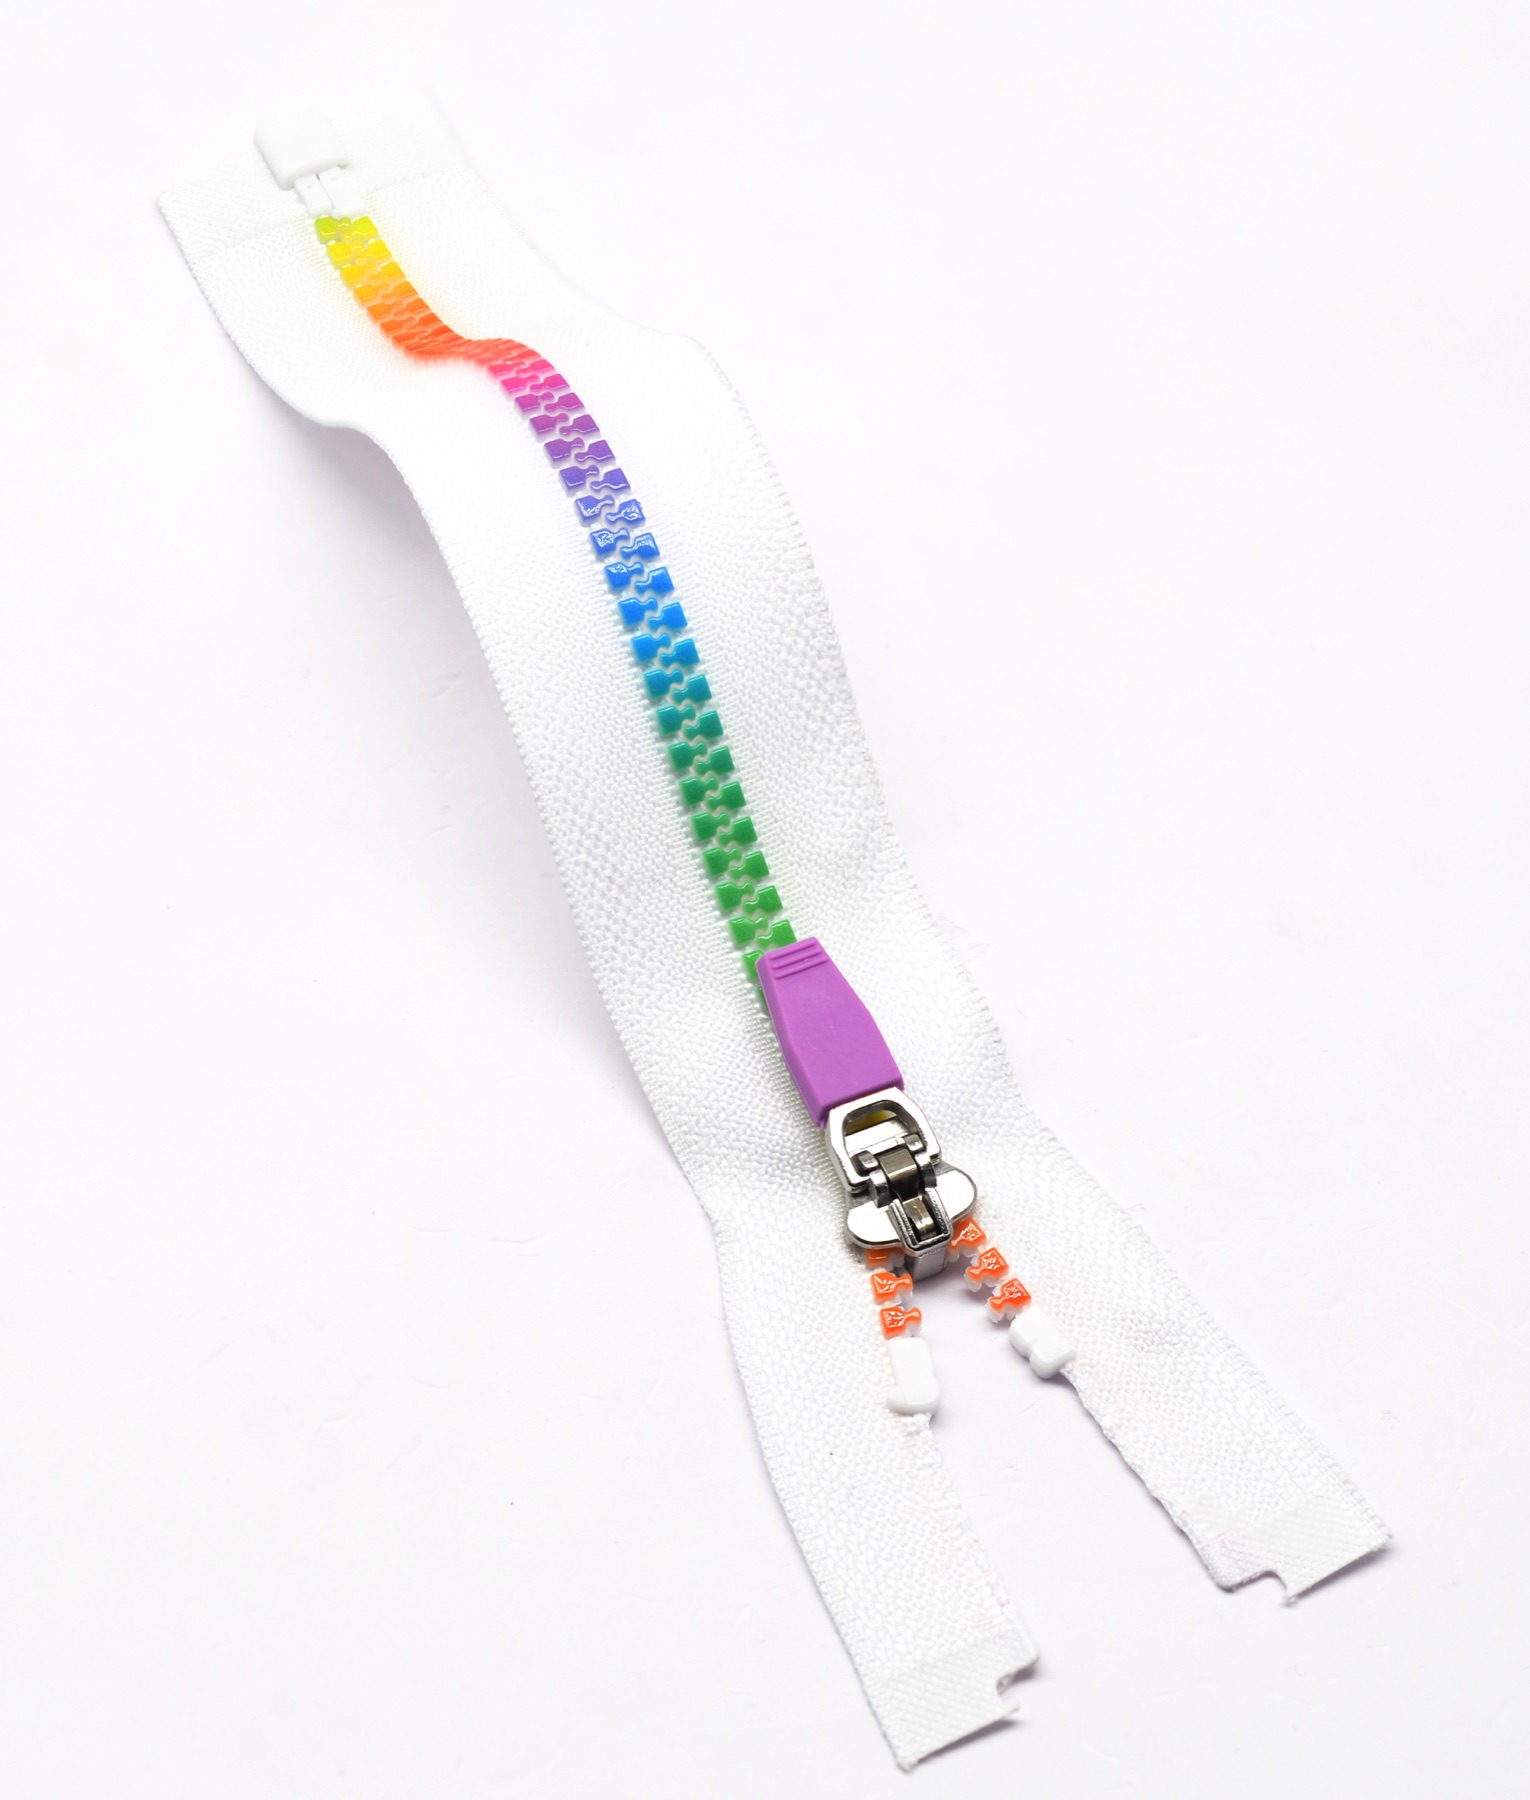
A size 5 nano-printed plastic zipper presents printed colors or patterns on the visible surfaces of injection-molded teeth. The product images show multicolor gradients as well as single-color and alternating-color appearances, with white tape making the tooth decoration easy to see. Nano printing is used here as the product process designation. The name alone does not establish nanoscale imagery, a special functional coating, or any absolute performance property. Selection should address the molded tooth base, printed artwork, slider fit, and conditions of use as one complete construction.
Molded Teeth and Printed Surface Effects
The injection-molded teeth provide the continuous engaging profile, while printing changes the color and visual rhythm of the closed chain. In a multicolor gradient, hues progress along the teeth; single-color and alternating designs create a simpler line. At close range, examine which part of each tooth carries the image, how adjacent teeth connect visually, and whether engagement interrupts the intended pattern. The number of colors and their arrangement should follow an approved sample rather than being generalized from one display image.
For inspection, lay the zipper flat and observe both open and closed sections before moving the slider slowly through its full length. The added surface color is no reason to overlook basic mechanical fit. If resistance repeatedly occurs at one position, inspect the tooth profile, slider, and tape instead of automatically attributing it to the printing. Operate the chain again after gently curving it, and compare tested and untested surfaces under the same lighting for scratches, abrasion, or changes to the artwork.
Size 5 and Pattern Placement
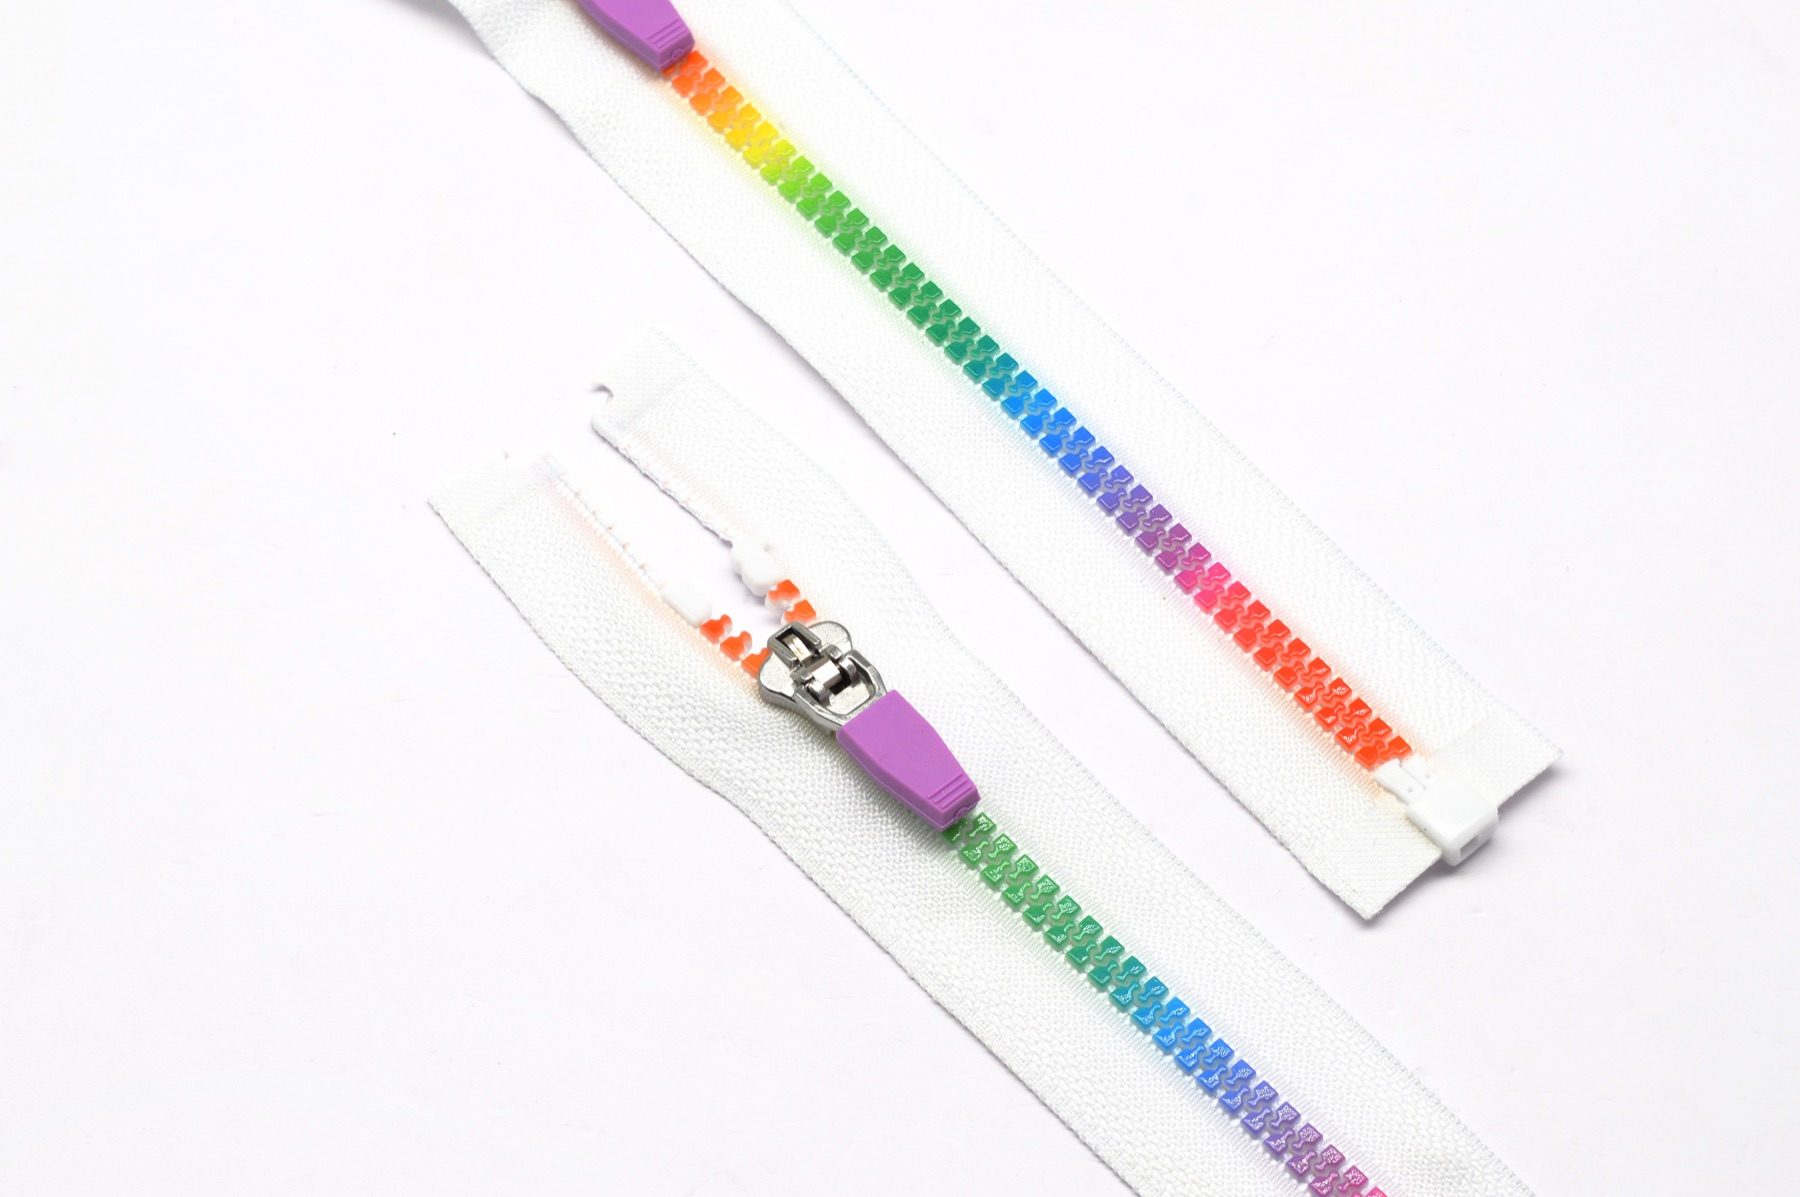
A size 5 chain has sufficient visual presence for tooth artwork to become a deliberate detail on garments or bags. Its suitability for a particular placket, pocket, or decorative opening still depends on measured chain, tape, slider, and end-fitting dimensions. Effective length and opening construction must also be confirmed. A new zipper should not be substituted solely because it carries the same size designation; pattern pieces and sewing clearances may still require adjustment.
Artwork should be selected in proportion to the complete article. A multicolor gradient can become the focal point on a plain fabric, while single or alternating colors can echo an existing palette. White tape highlights the tooth surface but also requires a check against the shell and lining. Pull color may coordinate with one section of the artwork, yet visual coordination and internal slider fit are separate matters. Any change of slider or termination requires new operation and assembled-sample checks.
Selection and Sample Approval Checklist
- Retain a clear artwork reference: Record tooth colors, gradient direction or alternating sequence, viewing orientation, acceptable variation, tape color, and pull color on an identified sample.
- Confirm the underlying construction: Specify the size 5 tooth profile, slider match, termination, length measurement points, and tape dimensions instead of allowing the artwork name to replace structural requirements.
- Inspect closed and curved chains: Review pattern continuity when flat, gently curved, and sewn into the intended article, including the tooth width that remains visible.
- Test for the intended use: Apply relevant rubbing, washing, cleaning, pressing, and operation conditions to sewn samples and retain an untouched comparison.
- Complete an assembly trial: Check stitch distance, lining clearance, slider movement, and the final location of the printed design on the article.
Sewing, Pressing, and Cleaning Precautions
Use a presser foot that clears the chain and slider, and keep the needle within the stitchable tape. Do not sew excessively close to the teeth merely to expose more artwork, and do not stretch the tape to compensate for uneven feeding. Stop the machine before moving the slider past the sewing area. After stitching, check that loose threads, lining, and decorative layers cannot enter the slider path or rub repeatedly against the printed surfaces.
Verify pressing and cleaning on samples made from the same materials. Avoid prolonged direct contact between a hot presser and the printed teeth. Unverified solvents, stiff brushes, and abrasive cleaning may alter either color or gloss. If operation becomes difficult, first inspect for trapped fabric or debris and gently reverse the slider. Do not use forceful repeated pulling to wear away resistance, and do not scrape the tooth surface with sharp tools.
Common Questions
Does nano-printed teeth imply a special nano-scale function
That cannot be assumed from the name alone. The designation describes the product printing process and tooth-surface appearance. Its precise technical meaning, material construction, and any additional function require explicit documentation and relevant testing rather than inference from terminology.
Must every gradient tooth match the display image exactly
Use the agreed physical sample as the reference. Approval can identify principal color sections, sequence direction, overall appearance, and acceptable variation. A single low-resolution image is not enough to define the color of every tooth or establish an objective allowance between samples.
Can printed teeth receive the same care as plain molded teeth
This should not be assumed. The molded base and printed surface must be considered together. Cleaning agents, temperature, rubbing, and pressing conditions all require sample verification. A process that leaves plain molded teeth unchanged may still affect the printed surface differently.