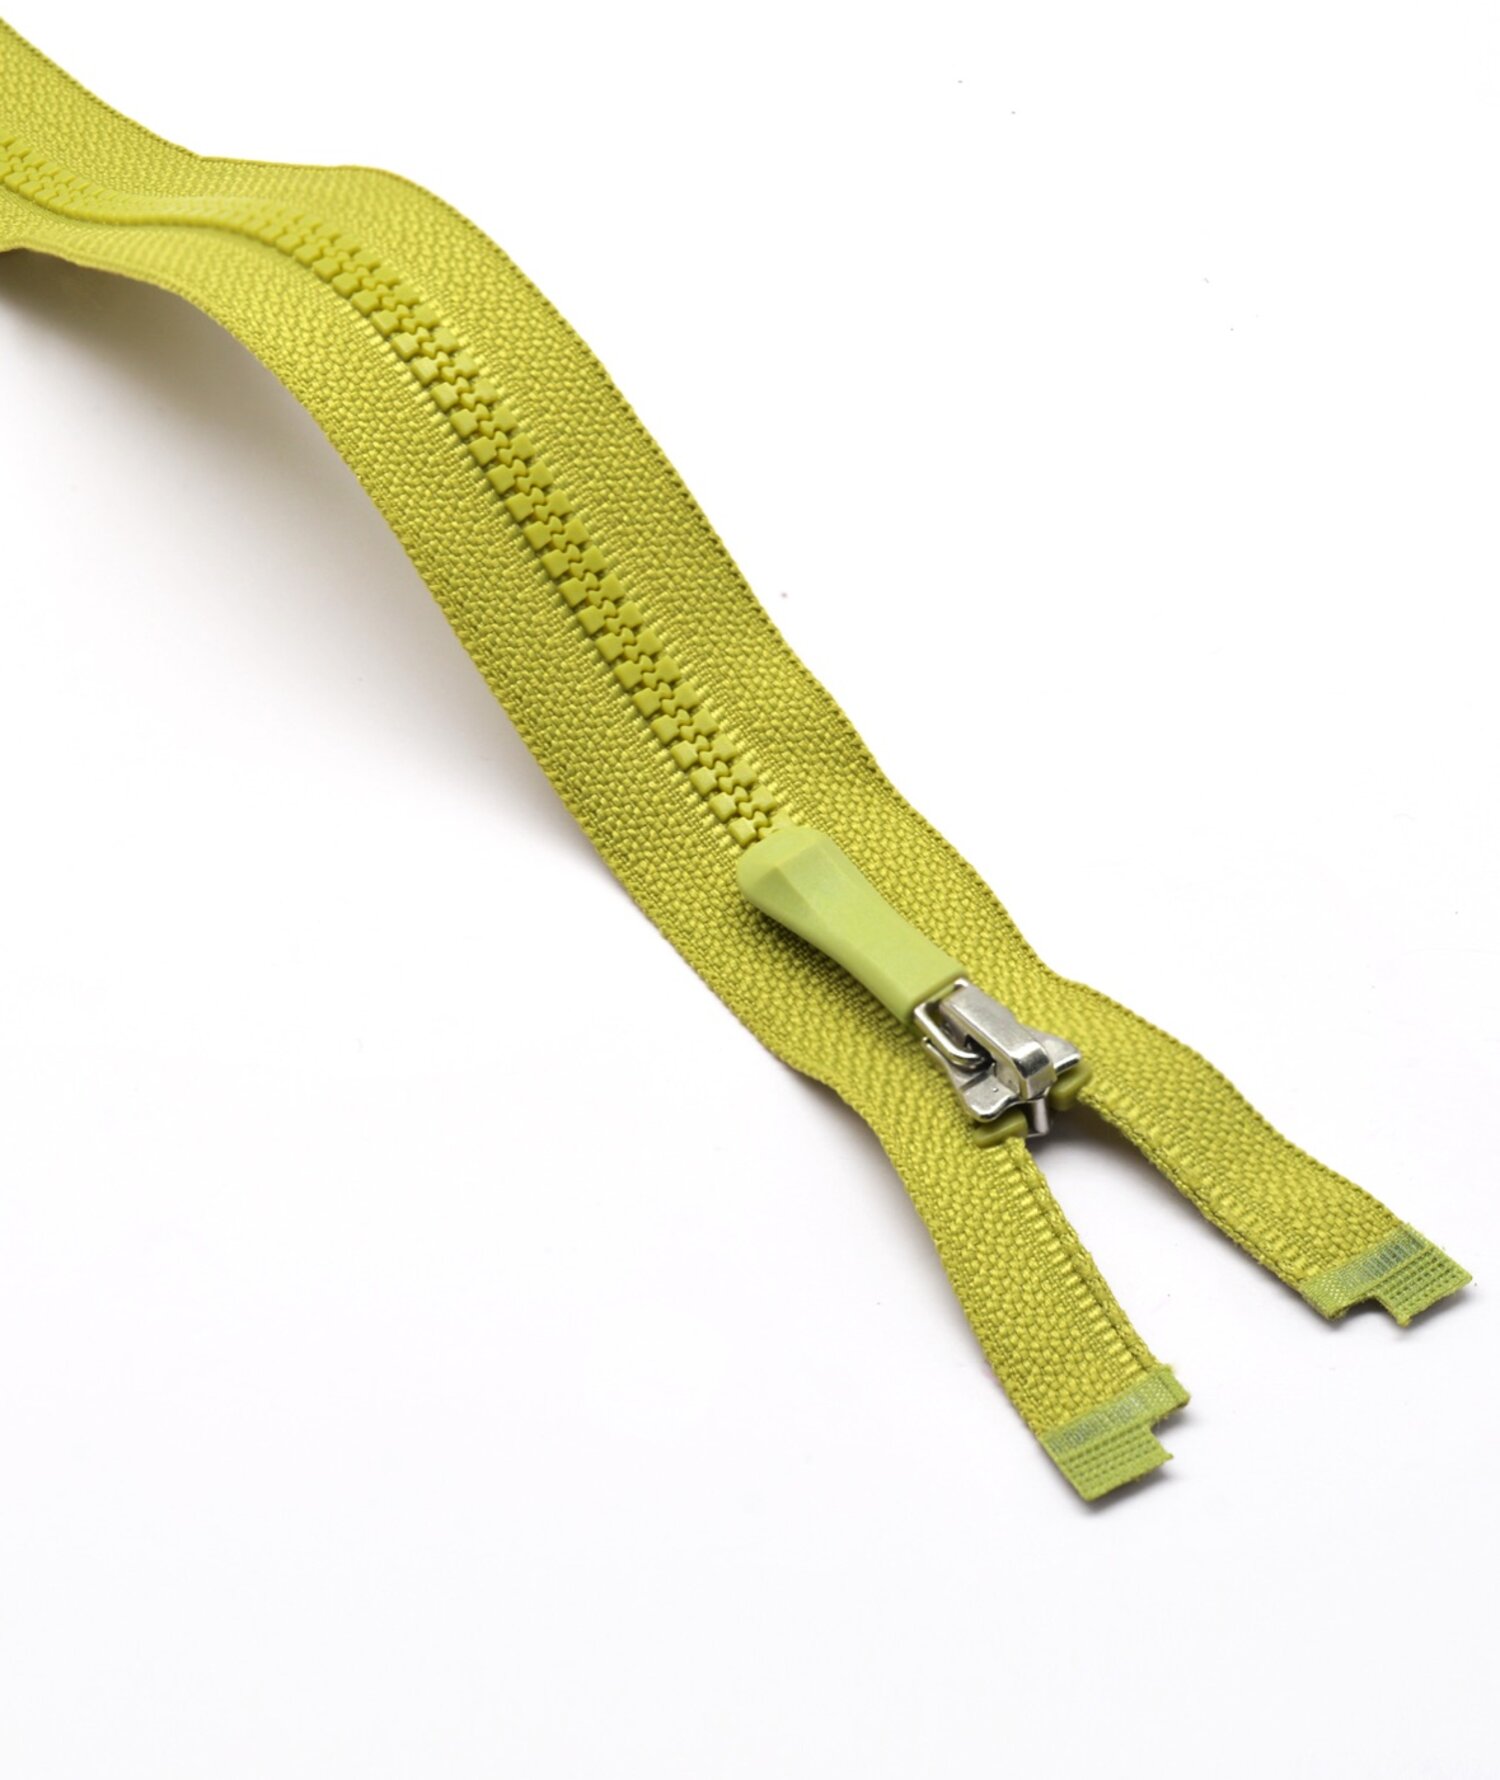
A size 3 standard plastic zipper is a common general-purpose trim in garment production: thermoplastic teeth are molded individually onto the tape, the tooth color can match or contrast with the tape, and the slider usually combines a metal body with a color-matched pull. Its advantage is not extreme performance in one area but a mature specification, flexible color options, and a balance of hand feel and cost, which is why it appears in everyday openings, pockets, and inner pockets. Understanding its structural limits is more useful than memorizing a model name.
Structure and Construction
The molding method defines the appearance. Molten plastic is formed tooth by tooth along the tape edge, the root wraps the tape, and spacing stays constant, so the chain can be rounded and flat or given a surface texture. The basic profile usually has no dramatic corners; the closed surface is continuous and offers little resistance to touch, which suits areas that contact skin or open frequently.
The tape is generally a plain weave with good warp strength, dyed to coordinate with the teeth. Because tooth color and tape color are controlled separately, even a matched product may show slight color variation; this should be a separate approval item. A slider consists of the body, pull, and cap, and both metal bodies with molded pulls and all-metal versions are common. The sample here contrasts a metal slider with pale yellow-green tape, showing that a basic zipper can still carry some visual character.
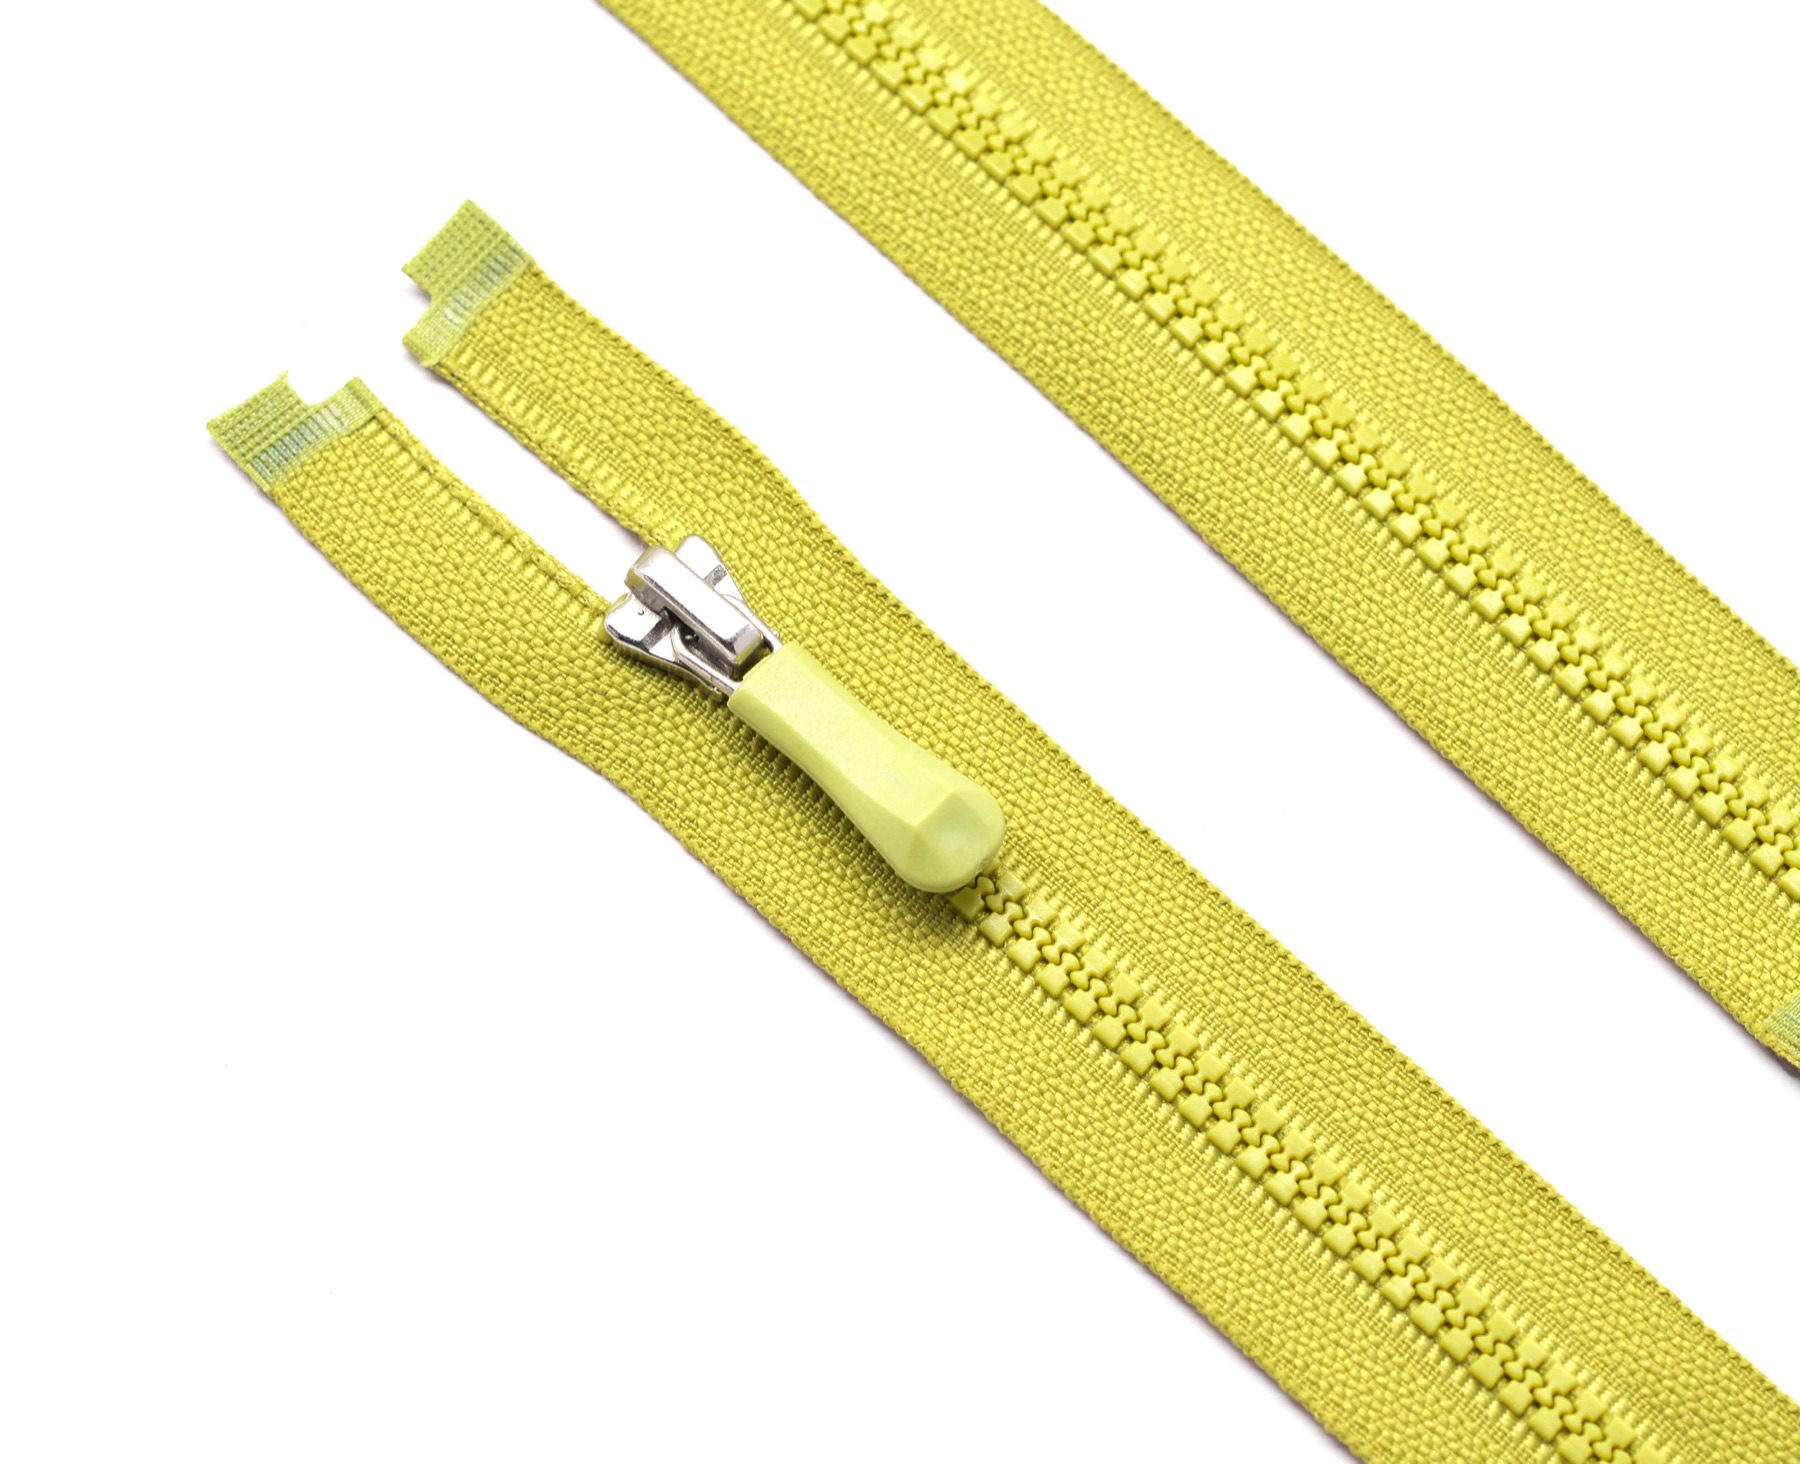
Compared with an invisible or interlocking zipper, the basic molded zipper is structurally direct: the chain is exposed, the tape is flat, and the ends follow conventional treatment. This has two consequences. First, stitch position is easy to judge and seam allowance and presser foot choice are relatively forgiving. Second, because the chain and slider are visible, appearance defects are harder to hide; color variation, frayed edges, and skewed stops are magnified in the finished garment.
Sizes and Applications
Size 3 is a fine to medium-fine specification suited to light and medium-weight fabrics. Typical uses include plackets on shirts and skirts, knit jackets, childrenswear, loungewear, one-piece garments, small bags, and inner pocket openings. It can also be used on some sportswear pockets and decorative openings, but areas carrying significant lateral tension should be evaluated with care.
On light fabric, the size 3 chain is moderate and does not press a hard line as a size 5 might. On medium-weight fabric, confirm that the slider envelope and seam allowance are sufficient so the fabric does not squeeze the chain. For heavy coat fronts, load-bearing backpack openings, or areas that are opened forcefully and often, a fine basic zipper is usually not the right choice; a larger size or a stronger construction should be considered. For length, confirm the net opening length from the pattern plus end allowance rather than working backward from a finished garment measurement.
Selection Checklist
- Choose the size by location: Define opening position, fabric weight, and load path before deciding whether size 3 is appropriate, rather than carrying over an existing style.
- Confirm tooth and tape color: For tone-on-tone matching, check lot-to-lot variation; for contrast designs, confirm that tooth texture and luster work with the tape.
- Select the slider type: Auto-lock, semi-auto-lock, and non-lock sliders suit different habits. The feel and style of metal versus molded pulls should also be confirmed.
- Check the end construction: Closed-end, open-end, separable, and stop configurations must match the pattern; inner pocket openings especially need a bottom stop that does not feel sharp.
- Keep a sample and measurement record: Record chain width, slider envelope, tape width, and length tolerance, and remeasure bulk deliveries by the same method.
Sewing and Use Precautions
- Use a presser foot matched to chain height so the slider passes freely, and move the slider away from the needle before starting.
- Adjust stitch length to the fabric: slightly shorter on light material, slightly longer on medium weight, but keep both sides consistent so one tape is not stretched.
- Do not sew over the tooth root; keep the needle in the stitchable tape. At corners, stop, lift the foot, and then change direction.
- After each section, check that the slider travels smoothly. If it hesitates, inspect for thread ends, folded tape, and stops before pulling harder.
- Avoid direct high heat on the chain and slider during pressing, since molded parts can deform and affect fit.
Common Questions
How much pull can a size 3 plastic zipper take
A single figure is difficult to give. Performance depends on tooth profile, material, tape, slider fit, sewing quality, and load direction. Agree on a test method for the intended use rather than treating the size number as a load rating, and validate load-bearing areas with samples.
How do I choose between plastic and nylon zippers
Molded teeth look more regular, offer flexible color options, and give each tooth more three-dimensional presence. Nylon coil is softer and generally follows curves more easily. Base the decision on fabric weight, opening shape, appearance, and cost rather than on material names alone.
Can matched colors still show variation
Yes. Teeth and tape are produced separately, and material, lot, and surface luster all affect visual consistency. Compare against an approved sample under defined lighting and state an acceptable range in the inspection requirements instead of approving from one photograph.