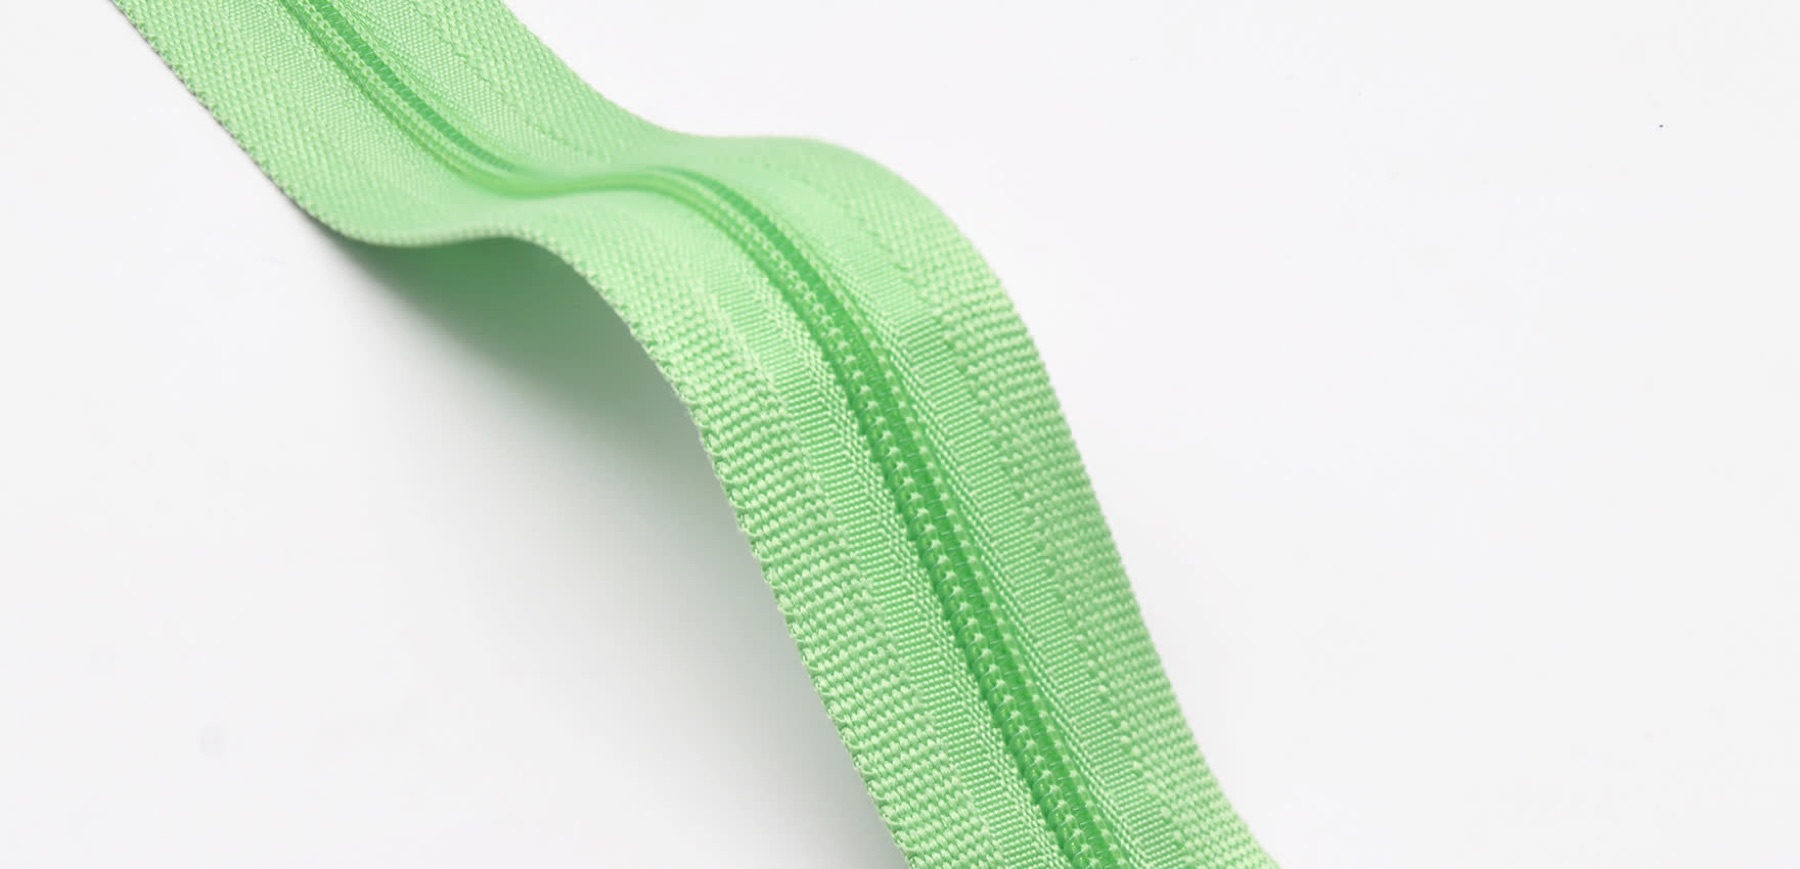
On an ordinary zipper the tape edge is cut and overlocked, and that edge shows when the zipper sits on an exposed part of the garment. A bound-tape zipper folds and wraps the tape edge into a thickened border, giving a clear outline and a fuller hand so the finished placket stays crisp and resists fraying and curling over time. Sizes 3 and 7 serve light-to-medium and medium-to-heavy uses respectively, and understanding the tape structure matters more than memorising the size.
Structure and Construction
The tape is woven with its edge folded over and wrapped, producing a continuous thickened border along the full length. On the face this border appears as two slightly raised ridges running parallel to the zipper and symmetrical on both sides, while the chain is sewn down the middle between them, so the closed zipper reads like a flat, continuous webbing.
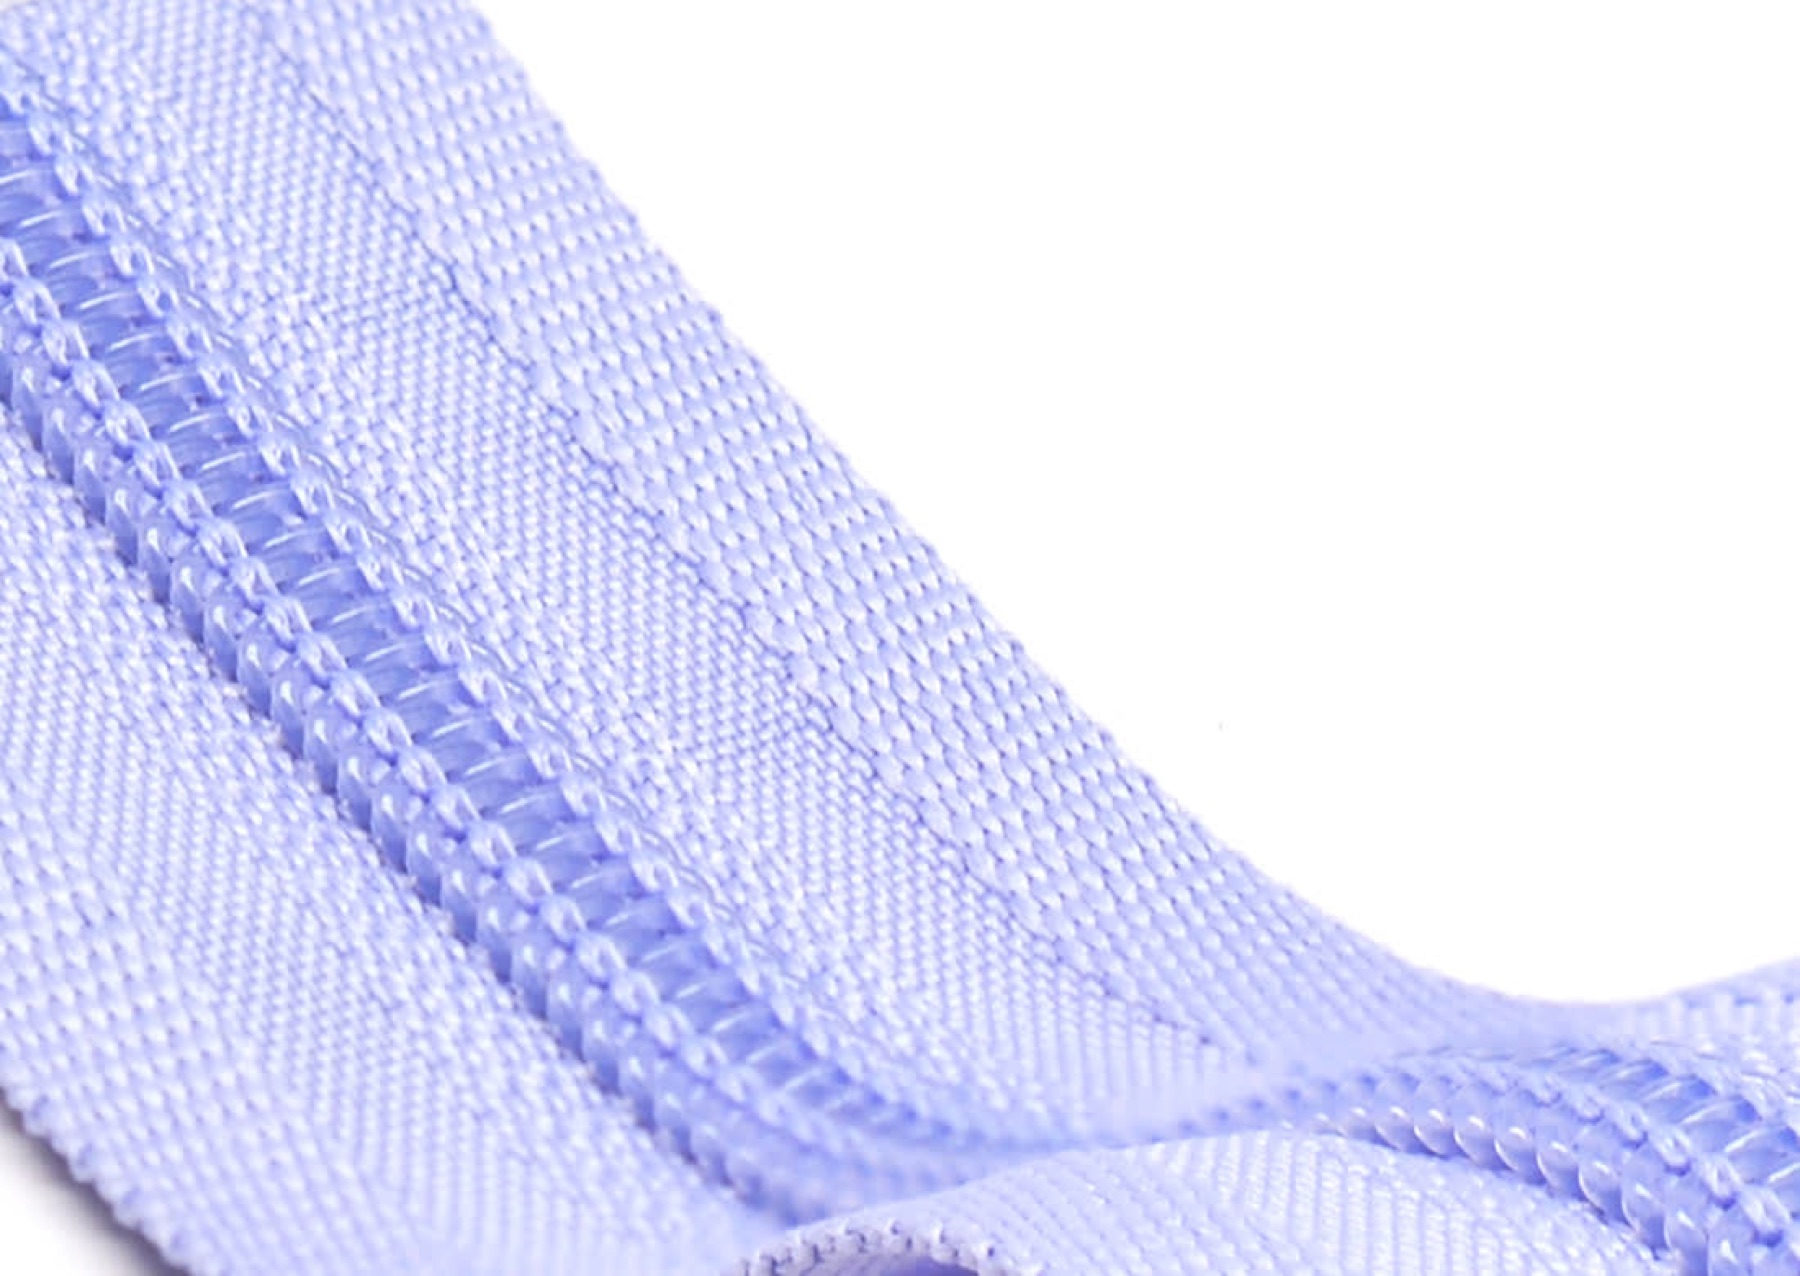
This structure has two direct effects: the edge does not fray easily, so exposed areas need no extra binding, and the tape is stiffer, so a placket does not collapse when the fabric is soft. The trade-off is thickness: turning corners and crossing bulky seams needs more room, and seam allowances cannot be trimmed too narrow.
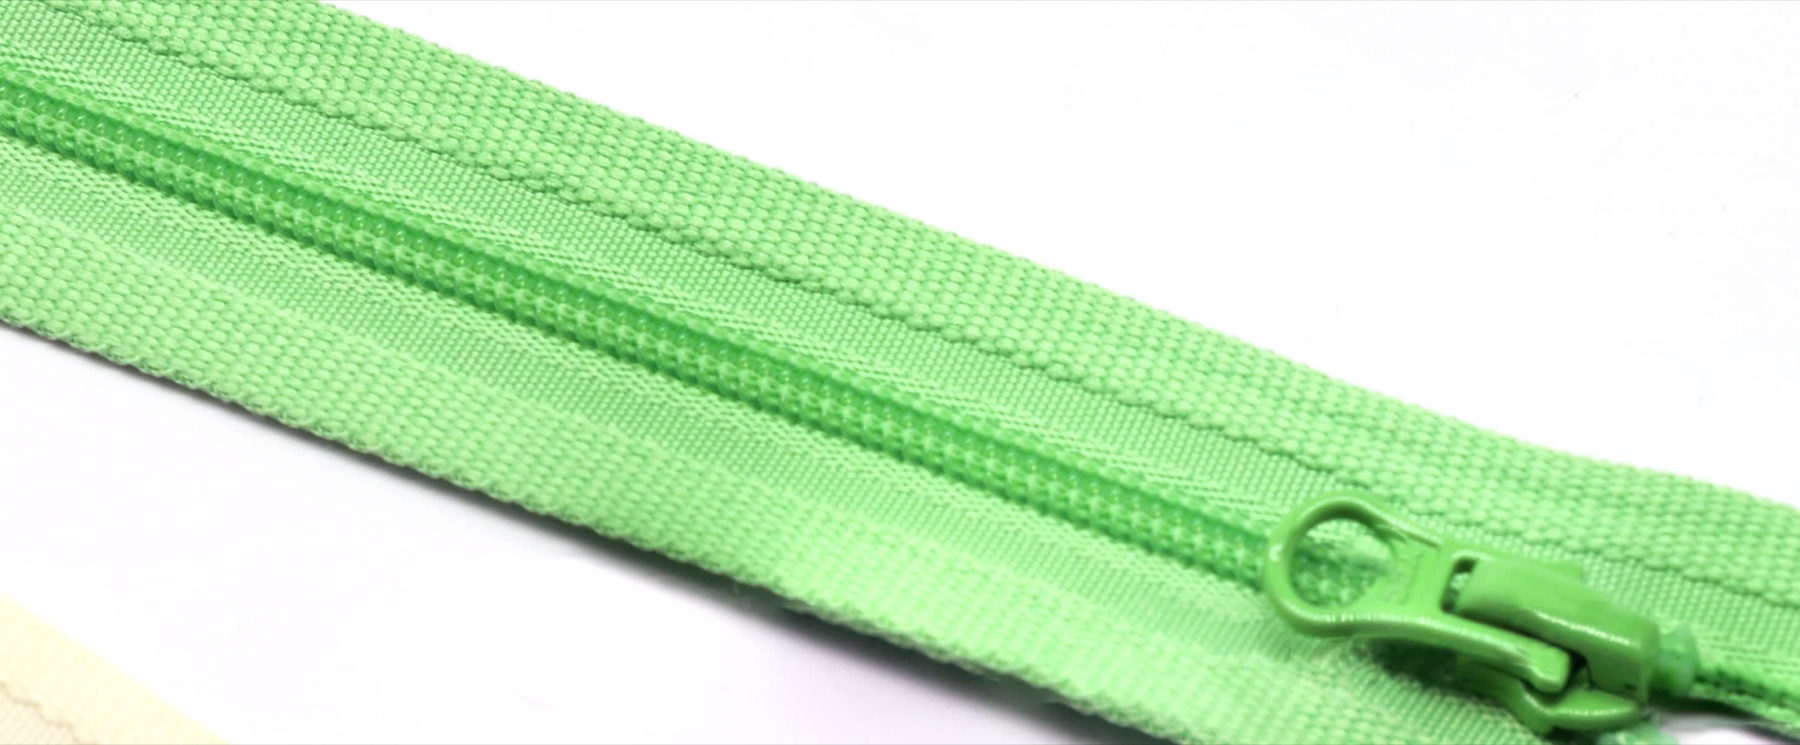
Sizes 3 and 7 use the same binding method, differing in tape width, chain thickness and border thickness. Size 3 has a narrower, lighter border with a finer outline; size 7 has a wider, heavier border whose edge line is more prominent, suited to designs where the tape texture should be visible.
Sizes and Applications
Size 3 works for shirts, dresses, light jackets and childrenswear, as well as cushions, curtains and storage bags, where the bound edge can replace a separate piping step. Size 7 suits work jackets, padded coats, bags, sofa covers and frequently used openings, where the coarse chain and thick tape give a stronger three-dimensional edge.
Start from fabric weight and garment structure: size 3 keeps edges light on fine fabric, while size 7 holds the placket shape on medium and heavy fabric. For washable home textiles the bound edge is more durable than a simple overlock, but the sewing thread must be equally wash-resistant.
Selection Checklist
- Confirm bound width: folding width can vary slightly between lots, so request measured total tape width and border width.
- Check ridge evenness: run along the full length to confirm the two ridges are parallel and continuous, without flattened spots or skipped stitching.
- Match fabric weight: a heavy tape on light fabric collapses the placket, while a light tape on heavy fabric cannot support the edge.
- Allow seam space: the bound tape occupies more room, so pattern allowances should be slightly larger than for a standard zipper.
- Confirm wash requirements: for exposed, frequently washed products, assess the binding and the sewing thread together.
Sewing and Use Notes
- Align the bound ridges before sewing; a twisted tape puts the ridges off-parallel, which shows immediately on the finished edge.
- Use a needle suited to the thickness; an oversized needle leaves visible holes in the thickened border.
- Slow the feed across bulky sections and assist with the handwheel if needed to avoid needle deflection or thread breakage.
- Clip small notches at corners before turning instead of pulling the tape, which can pull the binding apart.
- Press with a cloth and light pressure; the bound area marks easily under high heat and loses its edge quality.
FAQ
Is bound tape stiffer than ordinary tape
The binding adds thickness and rigidity, so it feels firmer than a plain tape, but softness still depends on the base fabric and finishing. Judge by handling a real sample rather than by photographs.
Can a bound-tape zipper be shortened
Yes, but cutting breaks the continuity of the bound edge, so the end must be re-sealed or reinforced or it will fray. Set the length at sampling to avoid on-site cutting.
How can size 3 and size 7 be told apart quickly
Look at tape width and chain thickness: size 3 is narrow and light, for fine fabric and home textiles; size 7 is wide and heavy, for outerwear, bags and higher-load areas. Laying both samples on the same fabric makes the difference clear.