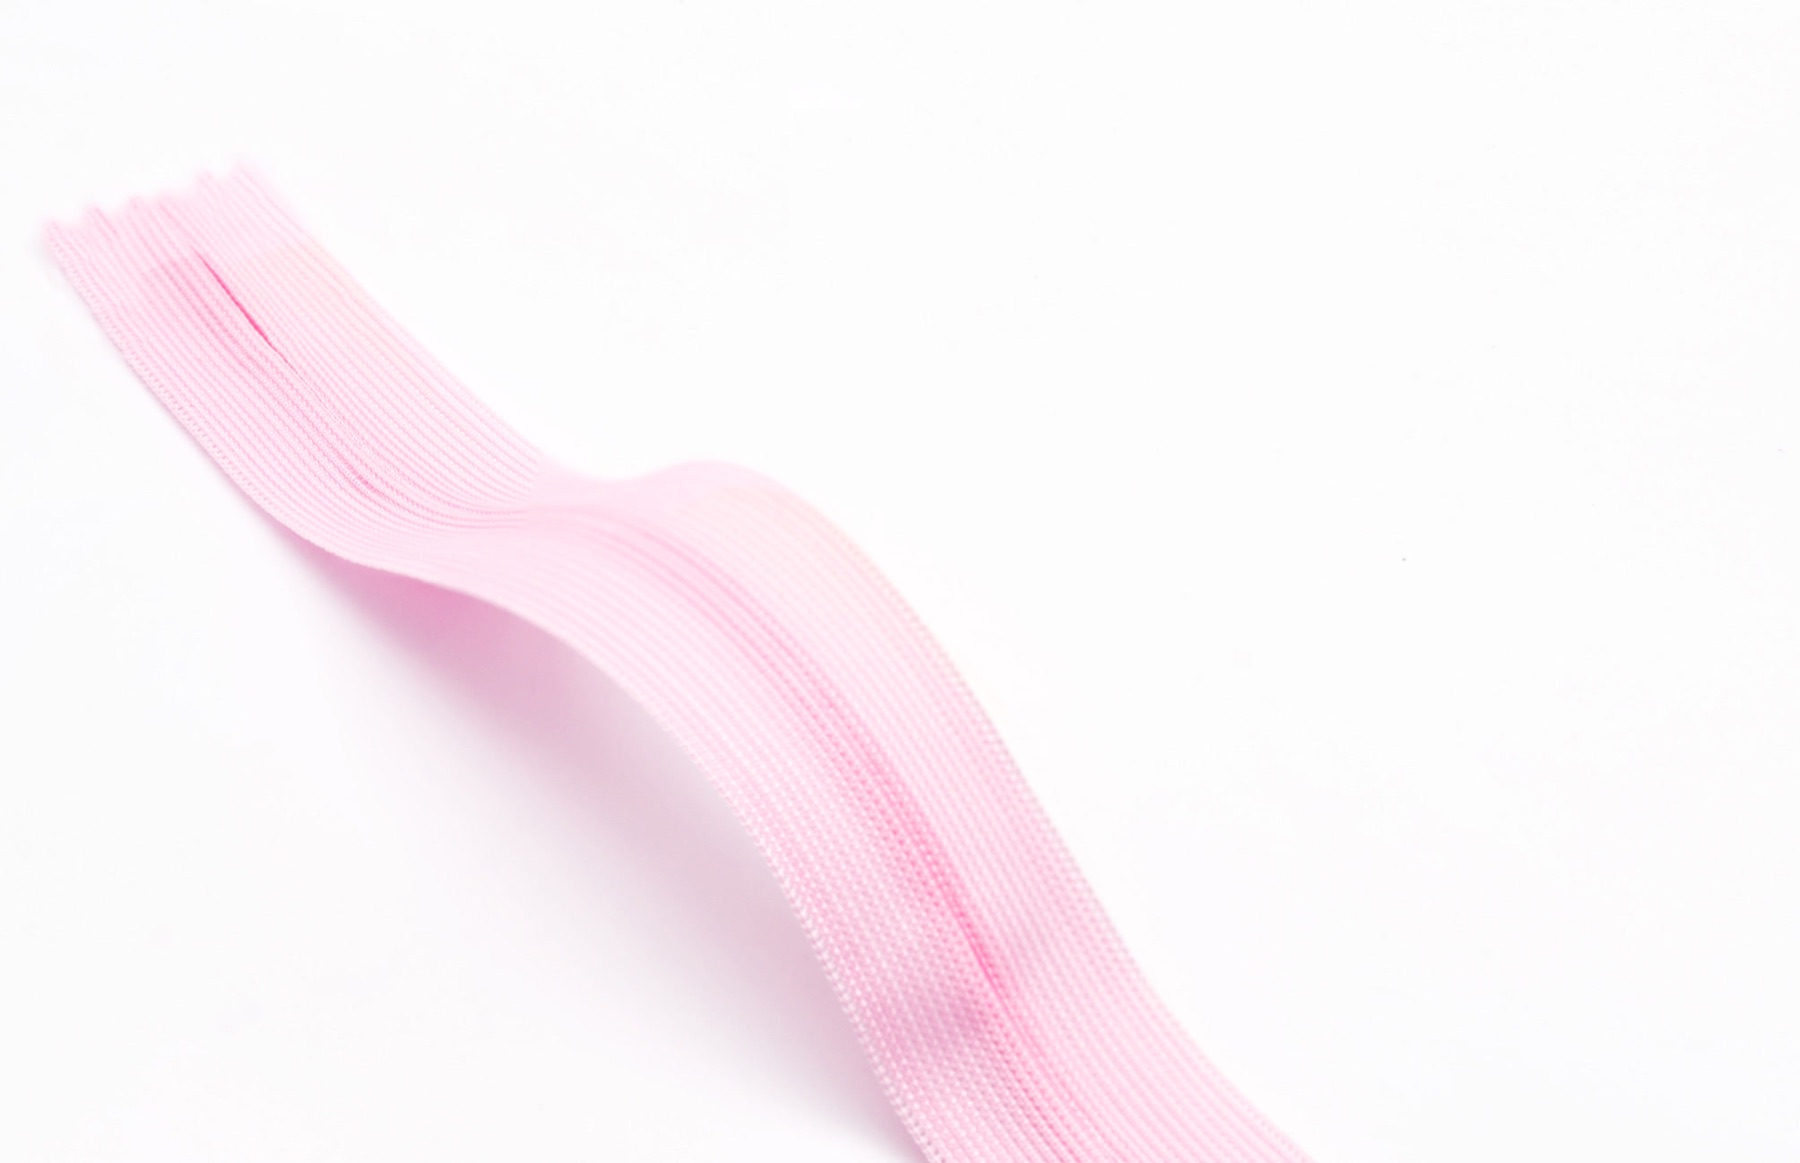
An invisible zipper uses tooth orientation and a folded tape edge to reduce the closed opening to a discreet line. It is common in skirts, tops, cushions, and other applications where the zipper should not become a decorative feature. Invisible describes the installed appearance; it does not eliminate the need to manage the slider, seam allowances, and fabric. Selection should confirm size, tape construction, opening length, slider type, and fabric thickness, followed by a sewn sample using the actual presser foot and materials.
How the Concealed Appearance Is Formed
The teeth of an invisible zipper generally sit behind the folded tape edge, so they do not remain directly visible as a surface feature after installation. Stitching must run close to the fold and teeth without contacting the chain or obstructing the slider. A seam placed too far away exposes excess tape; one placed too close can cause catching, needle damage, or tooth damage. Presser foot, needle position, and feeding must therefore work together.
Standard small invisible tape emphasizes a clean, flat result, while lace tape provides a decorative edge that may remain visible. The two cannot be exchanged on width alone. Lace can differ in thickness, pattern direction, and stitchable area, and it may alter how the seam allowance turns. The specification should identify the tape type and whether its decorative edge is intended to show.
Checking Size, Tape, and Length
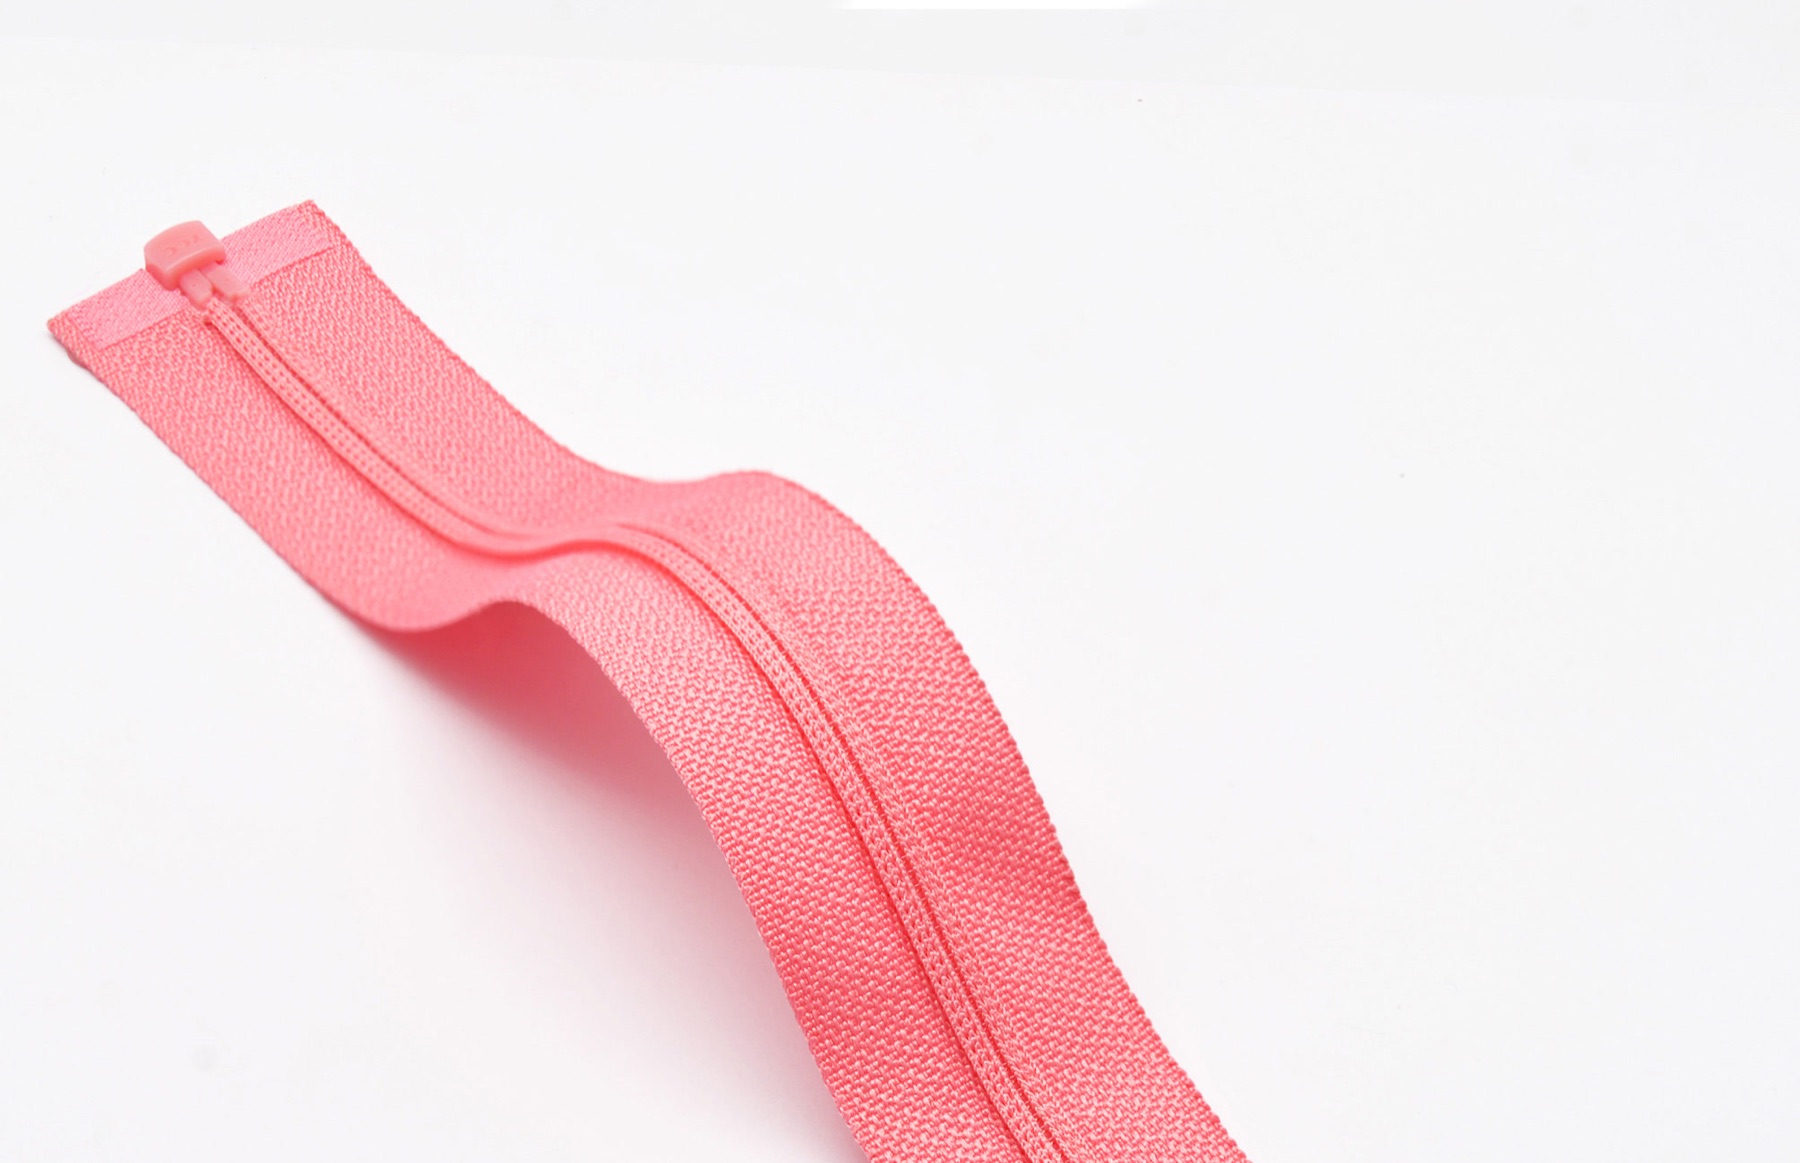
Designations such as size 3 and size 4 distinguish chain proportions, but total tape width, fold position, and slider outline still require measurement. Lightweight fabrics often demand particular attention to zipper bulk and seam flatness, while thicker or multilayer constructions need room for the chain and slider. The frequent use of invisible zippers in skirts does not mean that one size suits every fabric.
Confirm length from the effective opening and fitting positions rather than measuring tape alone. For lace tape, also check pattern direction, left-right pairing, and whether the decorative edge is included in the stated length. If continuity or matching is important, mark direction before cutting and sewing to prevent unintended reversal on the finished article.
Fabric and Construction Compatibility
Light, soft, or stretchable fabrics can form waves beside a zipper. Increasing stitch length or pulling the seam flat by force does not address the underlying cause. The pattern needs suitable seam allowances and, where appropriate, stabilization through a stay tape, lining, or cutting direction. Any added layer should be tested for thickness and visible impact. Thicker fabrics require checks that the fold opens naturally and the slider has adequate operating space.
Curved waistlines, side seams, and close-fitting areas should be tested in their actual shape. Smooth operation on a flat table does not guarantee smooth operation when worn, because fabric tension, body movement, and lining position change the opening. Where the zipper end enters a high-stress area, inspect whether bartacks and seam allowances obstruct the slider or create a hard spot.
Sewing and Acceptance Checklist
- Use a suitable presser foot: Select an invisible-zipper foot or appropriate zipper foot for the chain and fold, then establish needle position before stitching.
- Feed without stretching: Allow tape and garment panels to enter under similar natural tension rather than pulling either side longer.
- Control stitch-to-chain distance: Conceal the teeth without allowing stitches, needle, or slider to interfere with one another.
- Plan the termination: Coordinate slider travel, lower bartack, seam allowances, and lining so that they do not block one another.
- Test pressing: Use the actual fabric and zipper in a sample to establish temperature, pressure, and time without direct excessive heat on the chain.
After sewing, inspect the opening line and exposed tape from the face, then inspect stitches, folds, and allowances from the reverse. Operate the full zipper and repeat with the sample gently curved. If waves appear, distinguish feeding, fabric stretch, thread tension, and tape differences as possible causes instead of simply repeating the same stitching method.
Common Questions
Is the lace on a lace-tape invisible zipper always hidden
No. The decorative edge can be concealed or exposed according to the design, and the two installations require different seam allowances and pattern treatment. Approve the intended appearance on a sewn sample rather than relying on the product name.
Can a stuck invisible zipper be pulled through by force
Force is not recommended. Common causes include trapped fabric, stitches too close to the chain, an improperly arranged fold, or slider mismatch. Stop and locate the obstruction before proceeding, because hard pulling can damage the fabric, teeth, and slider.
Can different tapes be exchanged at the same nominal size
The same size number does not ensure identical tape width, thickness, or fold position. After changing between standard, lace, or another tape, recheck needle position, seam allowance, visible edge, operation, and pressing conditions.