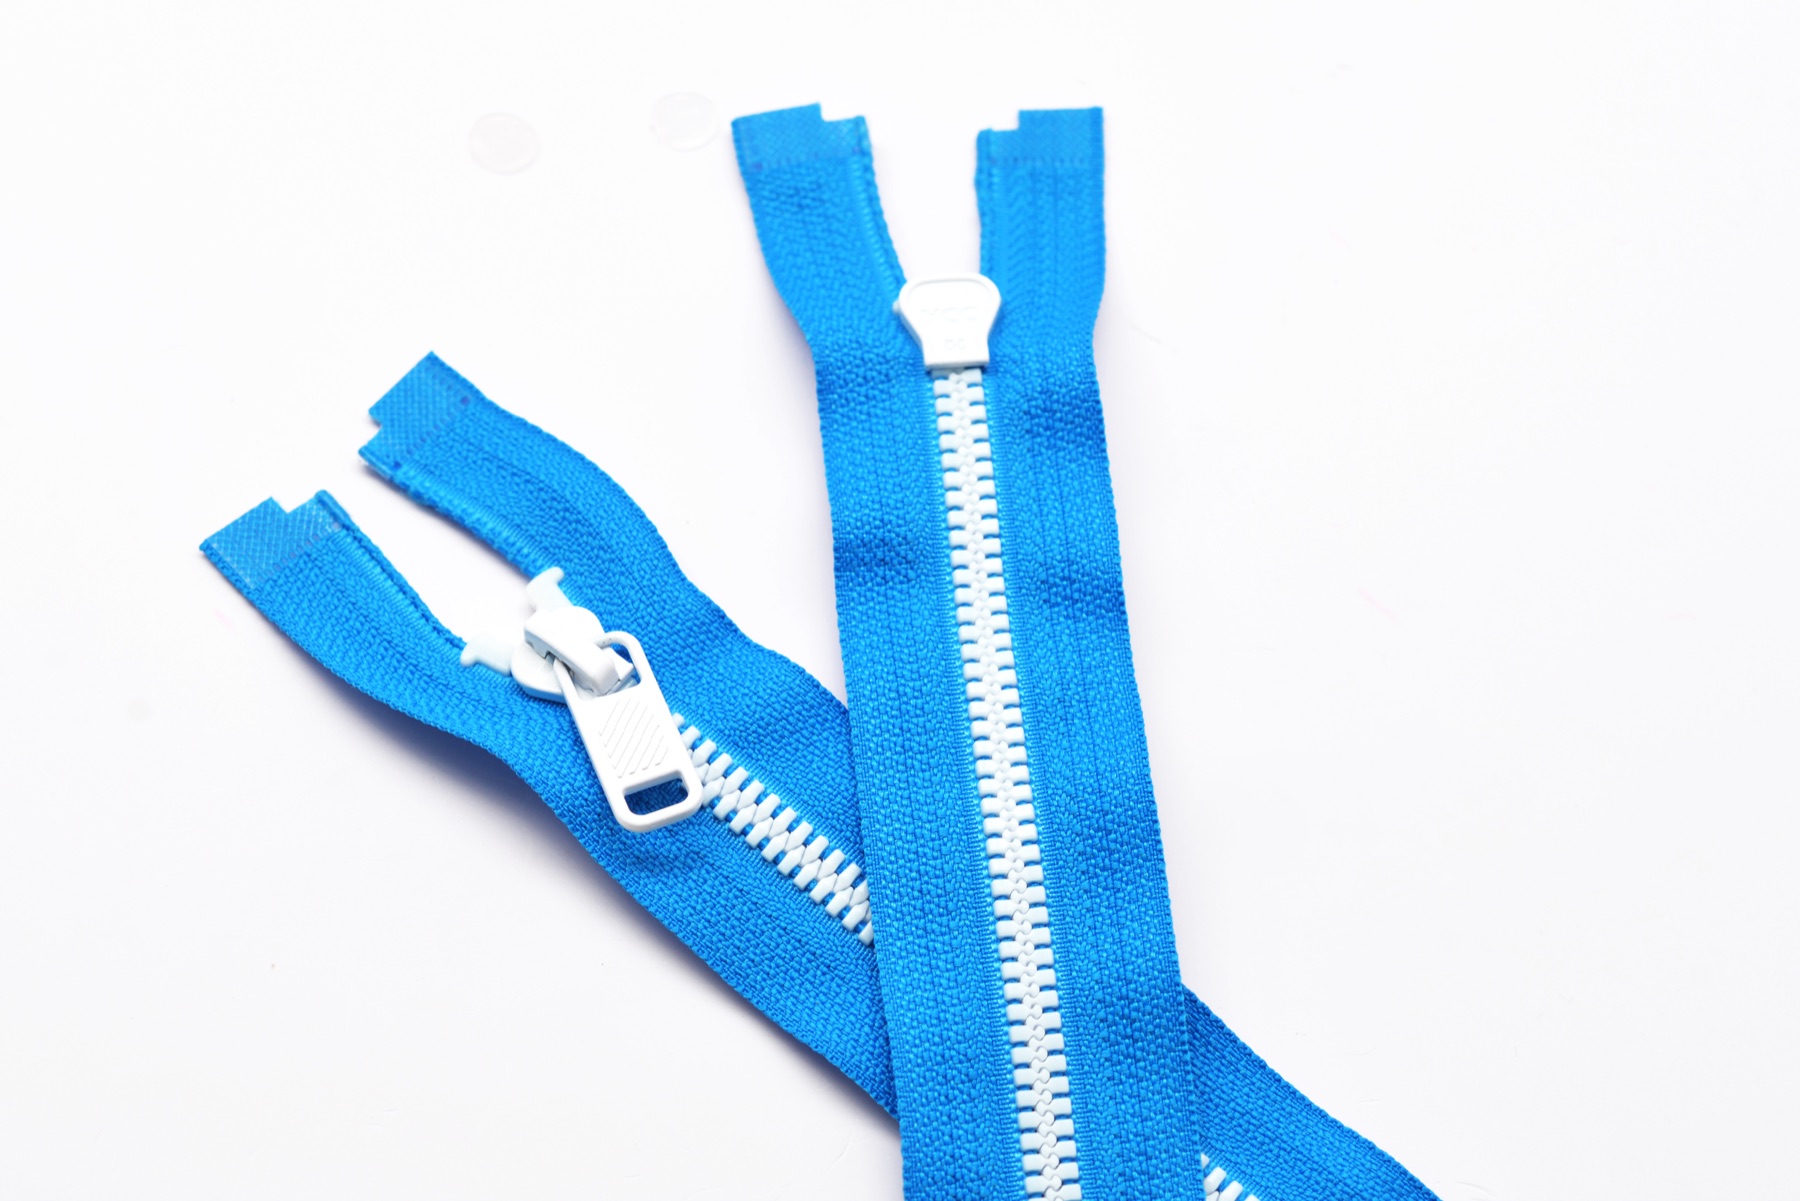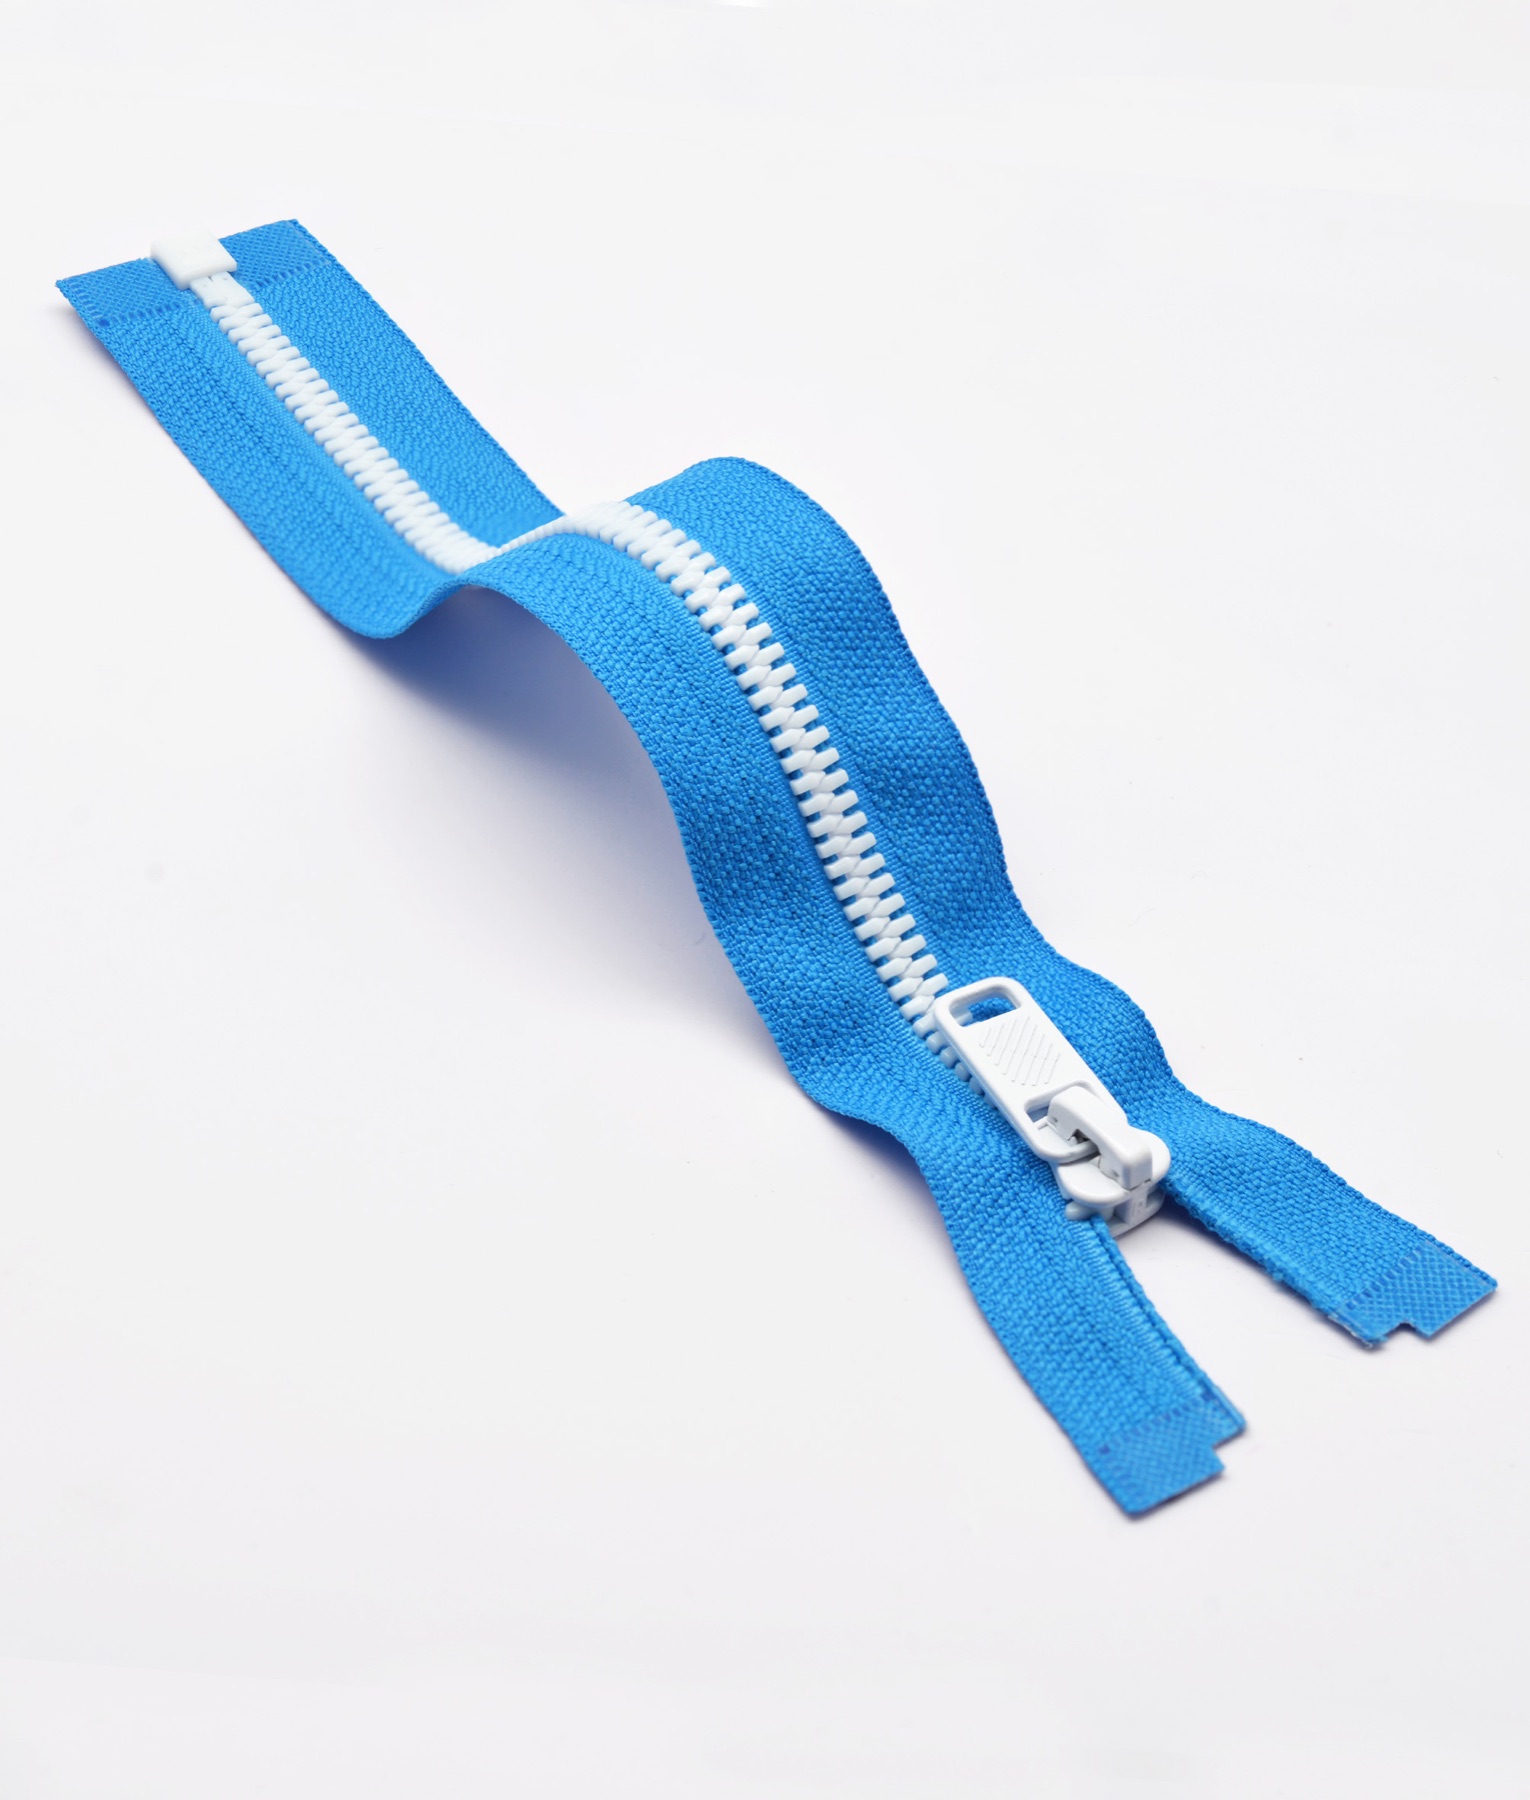
An anti-arch plastic corn-teeth zipper consists of regularly arranged injection-molded teeth, textile tape, a slider, and end components; this topic concerns size 5. “Corn teeth” describes the appearance of individual tooth-like units arranged in rows, while “anti-arch” refers to a design direction that uses the tooth profile, tape, and mating construction to reduce local arching after sewing. It suits garments and bags that need a distinct element line together with a flatter closure area. However, finished appearance also depends on fabric stretch, panel curvature, sewing tension, and finishing. The name does not guarantee a completely arch-free result on every fabric.
Structure and Process Characteristics
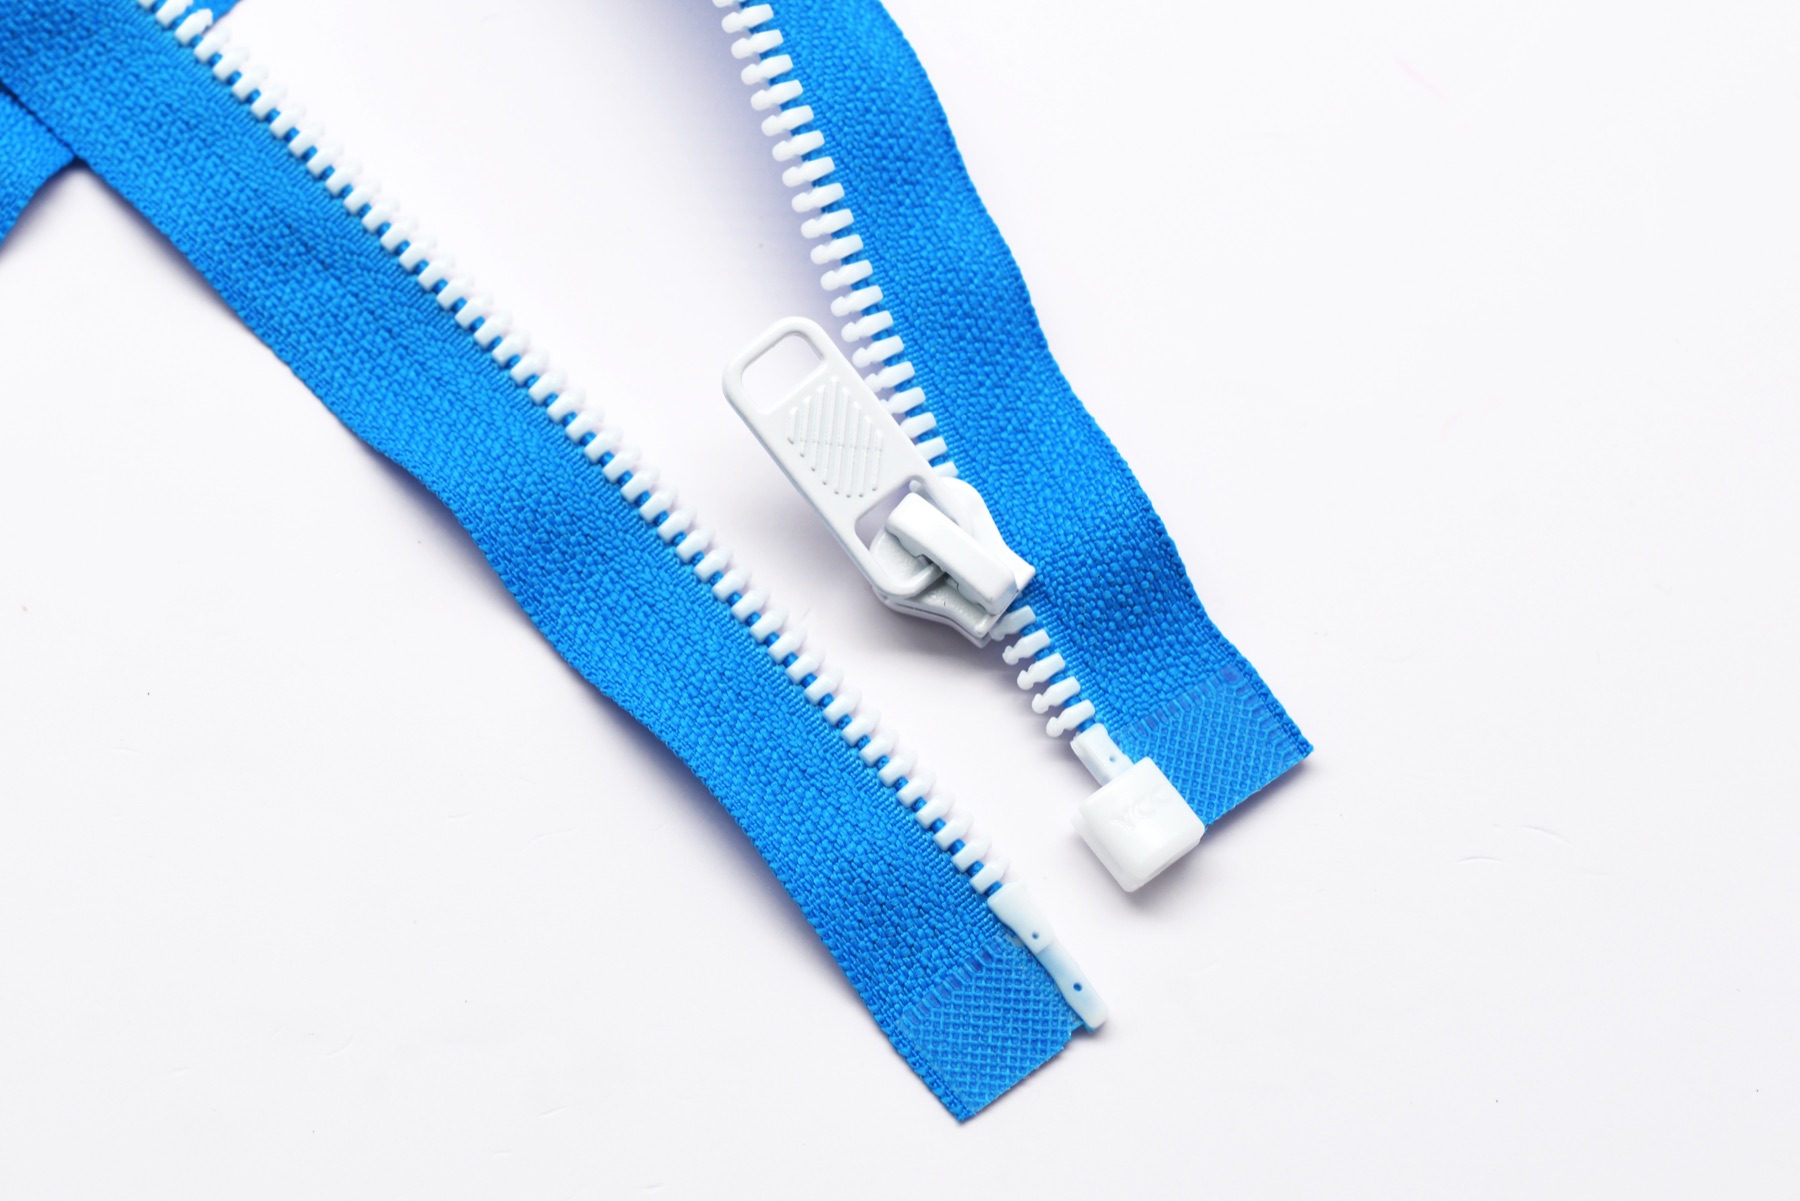
Corn teeth are individual, rounded units arranged continuously along the tape edges, forming a rhythmic element line when closed. During sample review, inspect left-to-right engagement, apparent spacing, and edge alignment. Move the slider slowly over the full travel to identify local tight spots. The complete zipper should not be judged solely by its color or the shape of one tooth.
Anti-arch performance involves both the zipper and the garment panels. If the tape is stretched during sewing, or if fabric and tape feed at different rates, waviness or arching may appear even when the loose zipper lies flat. Sampling should allow enough time for observation while flat, hanging, and in realistic wear. Compare the sample again after the intended washing or finishing process.
Size and Applications
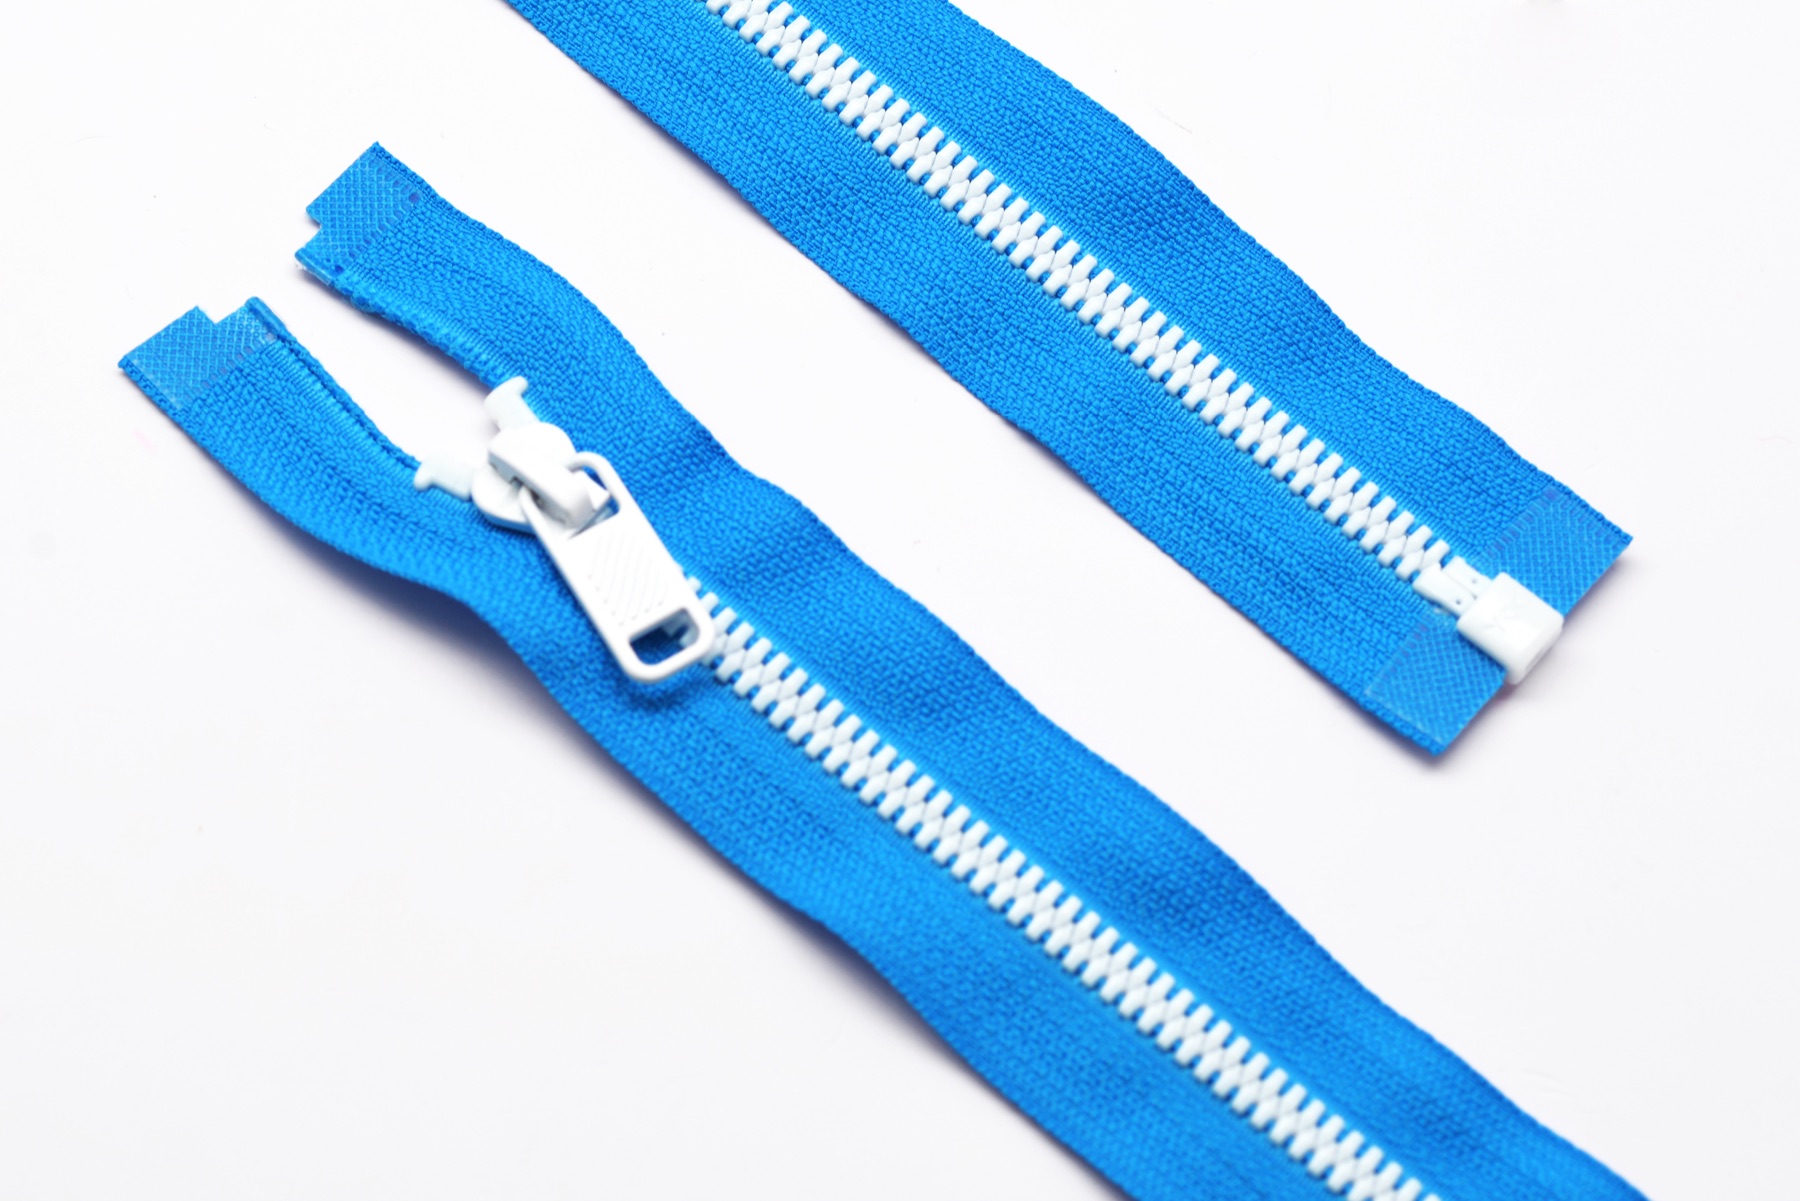
Size 5 provides a clearly visible element line. Depending on fabric thickness and pattern, it can be considered for casual jackets, sports-style garments, bags, organizers, and other openings where a medium visual proportion is appropriate. On curved fronts, soft knits, or lightweight fabrics, pay particular attention to local tension and seam-allowance stability. With thicker materials, check presser-foot passage, end finishing, and slider clearance. Open-end or closed-end construction, length, pull orientation, and end components still need confirmation for each product.
Selection Checklist
- Review the complete sample: Confirm that the size 5 elements, matching slider, tape color, and end construction form one coordinated set; do not replace full-chain testing with a single tooth sample.
- Inspect teeth and engagement: Check tooth surfaces, alignment, and left-to-right symmetry. After repeated operating cycles, examine the ends and curved positions for smooth movement.
- Match the actual fabric: Make a sample with the intended production fabric, interlining, and seam allowance, evaluating the closure while flat, curved, and hanging.
- Define ends and length: Confirm open-end or closed-end format, effective length, top and bottom stop positions, and pull orientation against the pattern, avoiding excessive end thickness in the seam.
- Validate appearance after use: Clean or wash the sample using the intended process. Once dry, compare arching, shrinkage, color, and operating feel, and do not make guarantees from an untested sample.
Sewing and Use Precautions
- Complete any necessary fusing or stabilization of the panels first, verifying temperature compatibility with the materials. Do not rely on stretching the tape to control panel distortion.
- Use a presser foot suited to the element thickness. Keep stitches in the tape sewing area at a consistent distance from the teeth, preventing the needle from striking molded teeth or the slider.
- Feed both layers evenly without pushing the tape forward or dragging it backward. Curved sections may be positioned in stages, but excessive pinning points should not create tension.
- Choose a needle and stitch length suited to the fabric and sew a trial before production. If waviness develops, investigate tension, feeding, and panel shrinkage first.
- Use a press cloth and protect the teeth and slider during ironing. Do not leave a hot presser foot in direct contact with molded teeth; validate cleaning and drying conditions on the sample.
Frequently Asked Questions
Does anti-arch mean the zipper will always be perfectly flat after sewing?
No. The term describes a design direction intended to reduce arching. The result still depends on fabric, interlining, panels, sewing, and finishing, so it must be validated on a finished sample.
Is checking only the appearance and color of corn teeth sufficient?
No. Left-to-right engagement, full-travel feel, end-component fit, and flatness after sewing also require inspection. The appearance of one tooth cannot represent the condition of the complete zipper.
Why can arching appear after changing fabric even with the same size 5 zipper?
Fabrics differ in stretch, thickness, shrinkage, and feeding friction, so previous settings may no longer apply. After a material change, sew a new trial and readjust tension, stitch length, and stabilization methods.